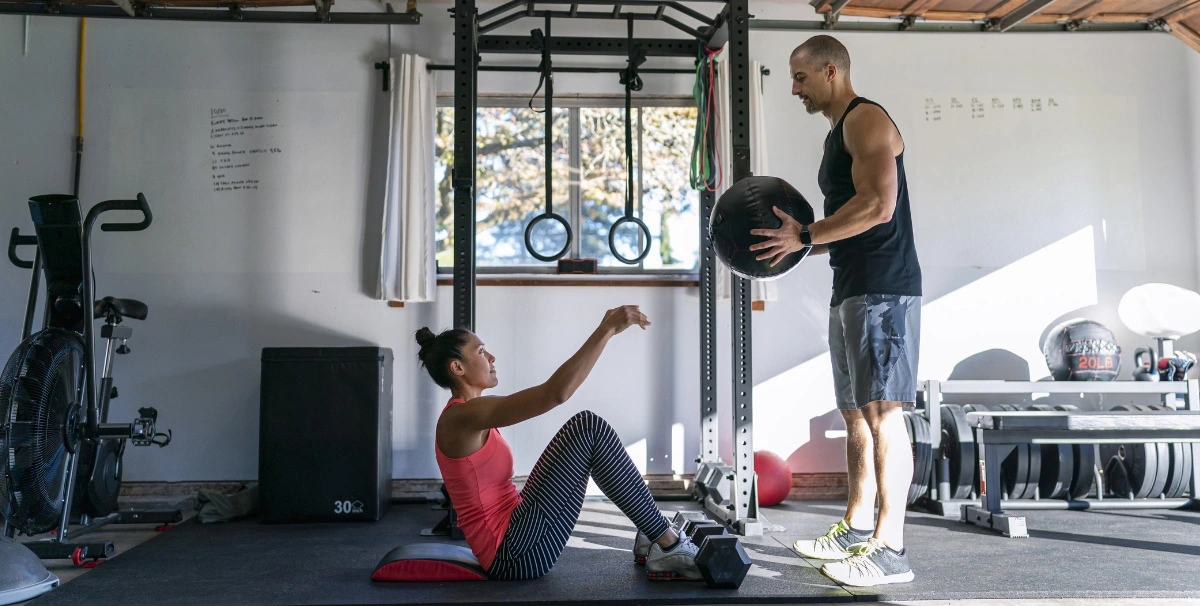
If you’re like most people, you probably enjoy working out in the comfort of your own home. And if you have a home gym, chances are you have rubber flooring installed.
But after a successful workout, how to clean home gym rubber flooring?
The most efficient way to clean rubber gym flooring is by applying a neutral pH cleaner through sweeping, mopping, and spot cleaning. Choosing the correct pH neutral cleaner is simple (explained below). Alternatively, you can create your own DIY solution that meets the same pH neutrality standards, works just as well, and costs considerably less
Let’s look at how to clean your home gym rubber flooring correctly to get the best results.
Tools and Materials You’ll Need
The final appearance of your clean rubber gym floor depends greatly on the items and solutions you use.
A few of the basic household tools you’ll need are:
- A vacuum cleaner or broom
- Sponge mop, nylon mop, or a microfiber mop
- A soft bristled brush
- A normal-sized bucket
- A buffing machine if your gym runs as a business.
You’ll also need a few cleaning solutions and items that include:
- A neutral pH cleanser
- A mild dish soap
- A rubber floor sealer (Optional)
Best Rubber Gym Floor Cleaner
When it comes to solutions for cleaning rubber gym floors, you can choose from two options.
A store bought cleaner offers the most convenience and ease. On the other hand, a homemade solution allows accurate mixtures and less expenditure.
Here’s a closer look at both alternatives.
Readymade Cleaner for Rubber Flooring
There’s no shortage of floor cleaner products in the market today. However, if your target is to specifically clean rubber gym floors, there aren’t many reliable options.
However, one product specially made for cleaning rubber floors is the Zogics Rubber Floor Cleaner & Degreaser.
This cleaner and degreaser come with a neutral pH value. It works with rubber flooring, so it fits the bill for a floor cleaner.
The solution also qualifies as environmentally safe and friendly, thanks to its biodegradable makeup and sustainable contents.
But most importantly, this rubber gym floor cleaner comes specially formulated to give your rubber gym floor a complete cleaning.
The solution also protects and maintains each tile or mat of your rubber flooring and its overall face.
Common stains and marks that appear on your rubber gym floor mats include chalk marks, sweat stains, and greasy residue. These stains can dampen your rubber floor shine and the quality of the flooring surface that makes up your rubber gym floor.
Floors made of any rubber material will benefit from this solution. So, if you prefer a convenient way to clean your rubber gym floor without using acidic chemical cleaners, this one is ideal.
Homemade Rubber Gym Floor Cleaner
You can also easily create your own DIY rubber gym floor cleaner at home from scratch. This option is especially useful for tidying up your home gym floor or a commercial establishment’s rubber gym floor.
To create a mixture that can clean rubber gym floors, all you need are some everyday items available in your kitchen and garage.
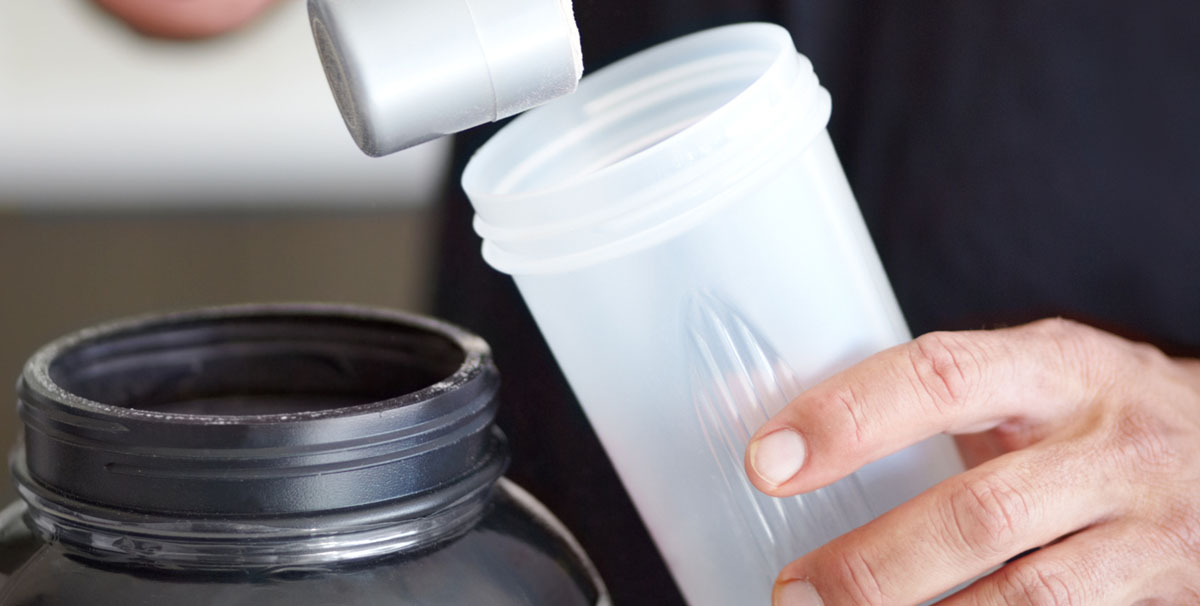
Grab one gallon of water (preferably warm) and one cup of dish soap. Once all the liquid ingredients are mixed together, you should get a somewhat soapy water that is perfect for mopping and wiping.
Personally, I recommend adding a few drops of whatever essential oil you have at home. Once your rubber flooring cleaner is ready, go through the cleaning process described below.
Most home gym or commercial gym managers also look to disinfect their rubber floors, and simply mopping with soapy water might not suffice. To get this done, add a controlled amount of alcohol to ensure that your rubber floor gets properly disinfected.
For disinfection, avoid solvent based cleaners that contain harsh chemicals or oil style cleaners like Murphy’s oil soap.
These solutions may appear impressive, but they can dissolve rubber flooring layers or affect the protective wax layer from your last cleaning session.
How To Clean Rubber Gym Flooring
Once your cleaning solution is ready, follow these easy cleaning steps to restore your rubber floor to its original state.
1. Sweep or Vacuum the Floor
Like any other cleaning exercise, the first step is to ensure that the entire floor is free of dust and debris.
Here, you can pick up a broom and go old school by sweeping or grabbing your vacuum cleaner for more convenience.
If you go ahead with the vacuum cleaner, ensure that your machine has high suction power. This way, you get all the dust out of the way before the cleaning solutions dampen the floor surface.
Also, avoid using your vacuum with beater brushes. Brushes can leave scuff marks on your rubber tiles. Some people insist that a soft beater brush is safe enough, but I wouldn’t recommend it.
2. Spot Clean
Next, choose target areas with visible marks and stains on the rubber flooring. Use a brush, preferably with soft bristles, to avoid worsening the existing scuff marks.
It may take more effort to remove set-in stains. But scrubbing too hard may also aggravate the surface of the rubber.
So, keep your scrubbing controlled and moderate, focusing only on the stained areas.
3. Mop the Floor
An easy way to guarantee efficient mopping is to use a sponge mop. However, microfiber cloths or nylon mops can work equally well if you prefer those materials.
Be careful when mopping over rubber tiles. Excessive water may lead to moisture getting caught between the tiles, which will affect your rubber floor’s life and durability. Also, regularly empty and refill your bucket to avoid mopping dirty water from your bucket.
Owners of commercial gyms may find that mopping every part of your rubber gym flooring by hand is challenging.
I prefer using an automatic floor scrubber to ease the efforts in my gym. But I’ve seen that a buffing machine can work just as well, if not better.
4. Deep Clean With a Neutral pH Cleanser
Next, use the cleaning solution prepared earlier (or the one you bought) and apply the mixture to the rubber gym floor.
This should be a deep clean process where the solution reaches every crevice and accessible corner of the rubber gym floor.
Allow the applied solution to sit and soak on the rubber floor for several minutes.
This short but effective duration will disinfect the gym floor, killing any remaining bacteria on the floor’s surface.
5. Allow the Floor to Air Dry Before Walking On It
Your rubber flooring may take some time to dry, but let it evaporate naturally. When you allow it to air dry, the after-effect has a more pleasing tone and appearance.
If you forcefully wipe it dry, the surface may retain streaks of your wiping action. So, be patient and go for the air dry option for a clean rubber gym floor with a streak-free finish.
6. Using An Automatic Scrubber
This one’s an optional step if you want that clean rubber floor shine. An automatic scrubber can evenly polish and clean the rubber’s surface without adding marks or streaks.
If you’d like to retain the look of your virgin rubber floors, this extra step adds more allure than adding other specialized rubber floor cleaners.
How Often Should You Clean a Rubber Gym Floor
You should routinely perform a quick sweep and mop your gym floor after every use.
Any workout session or exercise regimen will leave some dust or debris within the gym. Also, rubber floors may hold bacteria and residues like sweat if they don’t undergo timely cleaning.
As a rule, you should perform a deep clean at least once a week to ensure that your gym mats, rubber tiles, and carpets all stay in tip-top shape and condition.
How to Seal Rubber Flooring
Rubber sealants can enhance the appearance and extend the life of virgin rubber or recycled rubber tiles. Here’s how to use it.
- Soak a sponge in a rubber sealant solution.
- Gently apply the sealant to the rubber surface, ensuring a nice, thin coat.
- Allow this initial layer to dry out by air.
- Apply two or three more coats following the same process of sealing and air drying.
- After the final coat, let the rubber floors dry naturally for a full day.
The rubber seal creates a fine finish when dried out and can help make your floor extremely durable too.
Things to Consider When Cleaning Rubber Flooring
To clean rubber flooring properly, you must know what to avoid and what to ensure.
Things to Avoid When Cleaning Rubber Flooring
- Excessive soaking and drenching of the floor with cleaning solutions.
- Harsh use of abrasive cleaning pads and other abrasive cleaning supplies.
- Acidic chemical cleaners that are not meant for rubber.
Things to Do When Cleaning Rubber Flooring
- Preparing all required items, materials, and equipment beforehand.
- Performing a thorough sweep or vacuum before the deep clean
- Special focus on stained areas without overdoing it in clean areas.
FAQs
Clean your rubber gym floor weekly or daily?
Do a daily sweep and mop after every gym session if it’s a commercial gym. You can wait a couple of days if it’s a home gym with just you and a few family members using it. In both cases, a deep clean should be performed every week.
Why do gym floors get so slippery?
Gym floors become slippery because of all the liquid and particle residues that build up on the surface. These residues can be anything from sweat and body oils to beverages and warm water.
Can rubber gym mats get wet?
Yes. Rubber gym floors and yoga mats can certainly get wet. However, the advantage of rubber is that it can still provide enough traction to work out on even if wet.
Just ensure that it’s not so soaked or absorbed with water that the texture and quality deteriorate.
How do I make my rubber gym floor shine?
Assuming you’re cleaning your rubber gym floor regularly, adding a rubber finish or sealant will enhance the shine and appearance of your floor.
Can you steam clean rubber gym floors?
If you want the rubber to warp and lose shape, steam cleaning for rubber is not advisable because rubber doesn’t stand well with any heat treatment, even if mild.
How do you disinfect rubber gym flooring?
Stick to a neutral pH cleanser or create your own disinfectant by mixing warm water with mild soap. Avoid using excessively hot water or other acidic chemicals.
What will dissolve rubber flooring?
Most solvent based solutions and cleaners will dissolve or disintegrate rubber flooring if the acidic content is high.
Also, strong chemicals like regular paint thinner will damage rubber composition.
Can you use bleach or Clorox on rubber gym floors?
Applying harmful chemicals like bleach or Clorox on rubber gym flooring is not advisable.
Does vinegar harm rubber flooring?
Yes, it may harm your rubber floors if you don’t know exactly what mixture you’re preparing. Avoid using white vinegar, apple cider vinegar, etc.
What are the steps for how to clean gym floor tiles?
Sweep or vacuum, Spot clean with a soft-bristled brush or clean sponge mop (avoid harsh brushes, steel wool, scouring pads, etc.), Mop thoroughly (use warm water, avoid excessively hot water), Deep clean and let the floor dry naturally
Conclusion
Rubber floors in your gym will provide everything from sound dampening and shock absorption to stepping traction and floor protection.
However, the right cleaning and maintenance is the only way to ensure that these advantages last.
Feel the superior traction and stable footing of pristine rubber floors by applying the tricks and techniques mentioned in this guide.