

Nineteen exercises might not sound like an easy ab workout at first. But the whole routine wraps up in just 20 minutes, cooldown included.
Along the way, this abs workout for women targets your upper abs, lower abs, and obliques with moves like leg raises and bicycle crunches.
Plus, you’ll find simple fixes if your neck or lower back starts to complain. So grab a mat, and let’s get this at home ab workout started!
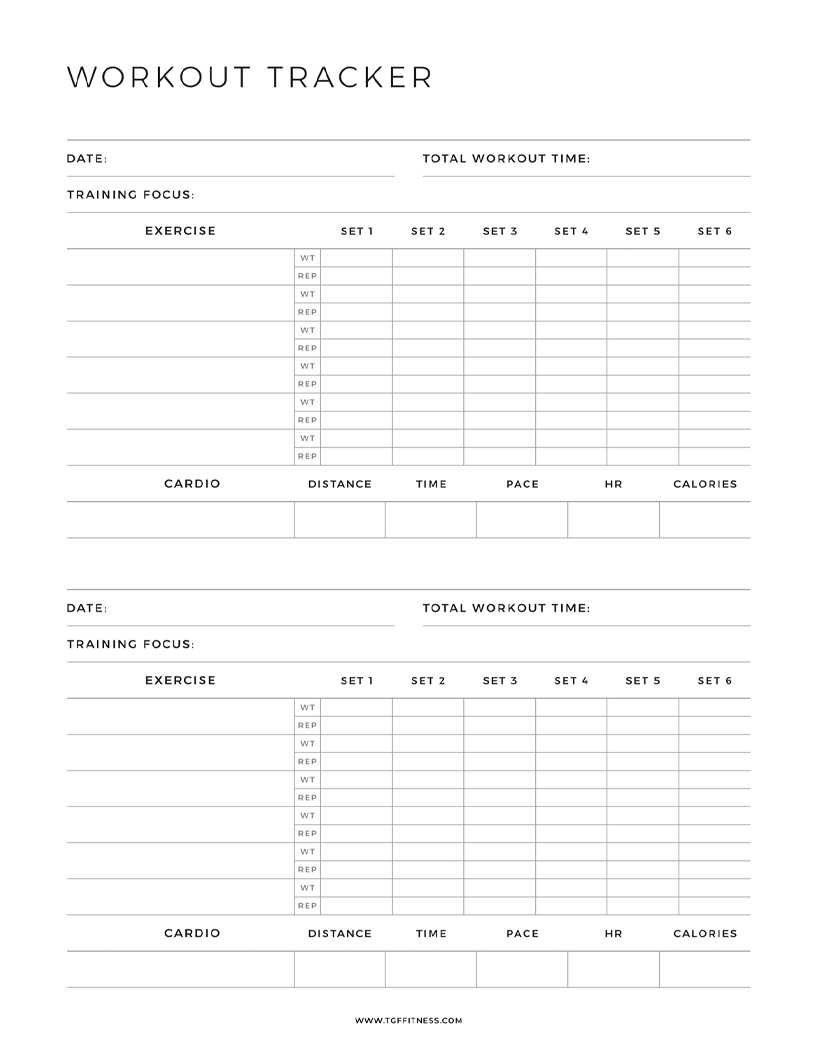
Download this free printable Workout Tracker! Plus receive weekly workout guides when you subscribe.
Crunch Reach
This abs workout for women opens with a crunch variation that targets the rectus abdominis (your “six-pack” muscle).
Since your arms stay extended, there’s no pulling on your neck.
That keeps the work in your upper abs, where it belongs.
How to perform:
- Lie on your back with both knees bent and feet flat on the mat.
- Extend both arms straight up toward the ceiling.
- Press your palms together above your chest.
- Exhale and curl your head and shoulders off the mat.
- Reach your hands up toward the ceiling as you crunch.
- Lower your shoulders back down with control.
- Keep your arms extended upward the whole time.
- Repeat for the full interval.
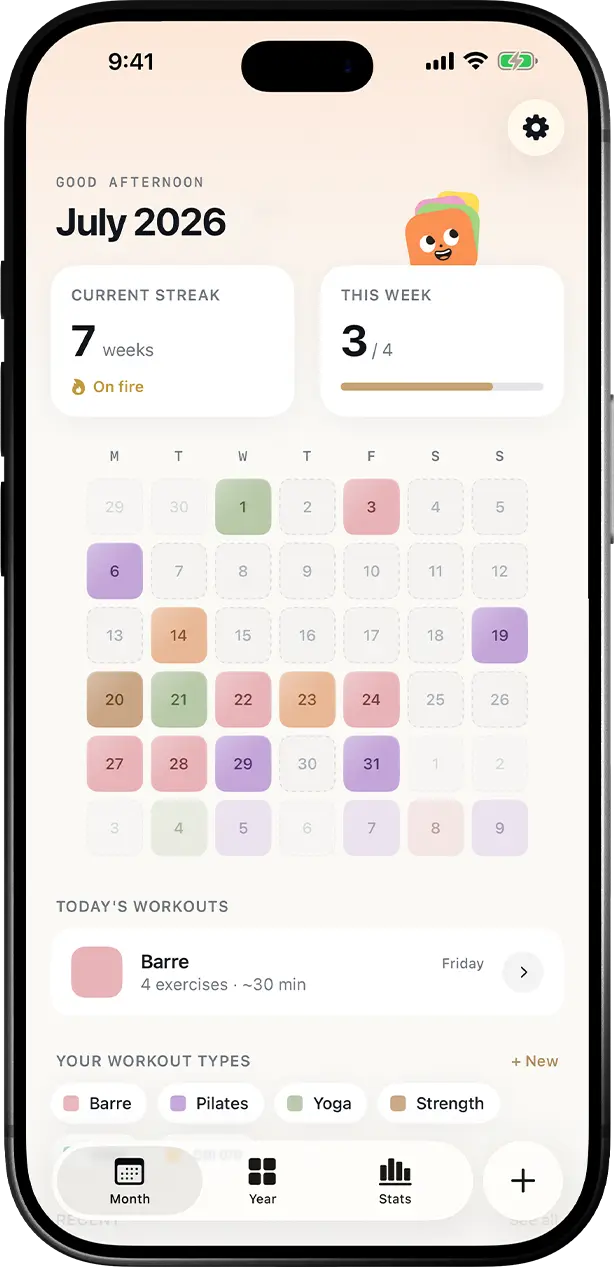
Track your workouts like coloring in your planner.
Every workout type gets its own color, so one look shows how your month went.

Toe Taps
Toe taps combine an isometric crunch with leg work, so your upper and lower abs share the load.
That constant tension makes the move highly effective, though your neck may tire first.
If it does, rest your head on the mat and continue tapping.
How to perform:
- Lie on your back and place both hands behind your head.
- Lift your head and shoulders off the mat into a crunch.
- Raise both legs into tabletop with knees bent at 90 degrees.
- Lower one foot down toward the mat for a light tap.
- Keep the other leg held steady in tabletop.
- Return the working leg to tabletop.
- Lower the opposite foot down toward the mat.
- Keep your shoulders lifted and elbows wide throughout.
- Continue alternating legs for the full interval.
Leg Raise + Swing
Now the focus shifts to your lower abs, which are notoriously hard to target.
Plus, the swing at the top deepens the contraction, as long as it’s controlled rather than rushed.
If your lower back arches near the bottom, shorten the range of motion.
How to perform:
- Lie flat on your back with legs straight and together.
- Place your arms by your sides, palms pressing into the mat.
- Hold your legs low so your heels hover above the floor.
- Raise both straight legs up toward the ceiling.
- Swing your legs past vertical so your hips lift off the mat.
- Lower your hips back down with control.
- Bring your legs down until your heels hover again.
- Keep your head and shoulders resting on the mat.
- Repeat in a smooth, continuous motion for the full interval.
Dead Bug
Dead bugs train the transverse abdominis (your deepest ab muscle) to keep your spine stable while your limbs move.
Opposite limbs work together, too, building coordination that may take a few reps to click.
Above all, keep your lower back flat against the mat.
How to perform:
- Lie on your back with both arms extended toward the ceiling.
- Lift your legs into tabletop with knees bent at 90 degrees.
- Keep your head resting on the mat.
- Extend one arm overhead toward the floor behind you.
- At the same time, straighten the opposite leg out long.
- Hover the extended arm and leg just above the mat.
- Return both limbs to the starting position.
- Repeat with the other arm and opposite leg.
- Continue alternating sides for the full interval.
Leg Raise + Hip Lift
This builds on the leg raise and swing with a pause at the top.
That brief hold removes momentum, so your lower abs handle the entire lift.
And you’ll likely feel it most on the way down, as your abs work eccentrically (while lengthening).
How to perform:
- Lie flat on your back with legs straight and together.
- Place your arms by your sides, palms pressing into the mat.
- Lower your legs until your heels hover just above the floor.
- Raise both straight legs until they point toward the ceiling.
- Lift your hips off the mat, sending your feet up and back.
- Hold the lift for a brief pause at the top.
- Lower your hips back down with control.
- Lower your legs to hover again and repeat for the full interval.
Toe Reach
Toe reaches shift the focus back to your upper abs through short, controlled spinal flexion.
Touching your toes isn’t the goal, though, since lifting your shoulder blades matters far more.
And if tight hamstrings make vertical legs uncomfortable, a slight knee bend is fine.
How to perform:
- Lie on your back with both legs extended straight up.
- Keep your legs together with feet pointing toward the ceiling.
- Extend both arms up toward your feet.
- Exhale and curl your head and shoulders off the mat.
- Reach your hands up toward your toes.
- Lower your shoulders back down with control.
- Keep your legs lifted and still throughout.
- Repeat for the full interval.
Bicycle Crunch
Bicycle crunches combine flexion and rotation, making them a staple in any quick abs routine.
Speed tends to creep in, though, and a slower tempo keeps the tension on.
To really target the obliques, rotate through your ribcage rather than just your elbows.
How to perform:
- Lie on your back with both hands behind your head.
- Lift your head and shoulders off the mat.
- Extend both legs out, hovering above the floor.
- Draw one knee in toward your chest.
- Rotate your torso to bring the opposite elbow toward that knee.
- Extend that leg as you draw the other knee in.
- Rotate to the other side, bringing the opposite elbow across.
- Keep your elbows wide and feet off the mat.
- Continue alternating in a pedaling motion for the full interval.
DL Oblique Crunch
Staying on the obliques, this side-lying crunch works lateral flexion (side bending) from both ends.
Because both legs lift together (hence DL, for double leg), it’s more demanding than a standard side crunch.
Balance can be tricky at first, so start with smaller lifts.
How to perform:
- Lie on your left hip with your body facing forward.
- Extend your left arm out along the mat for support.
- Stack your legs straight and together.
- Reach your right arm up and over your head.
- Lift both legs up together toward the ceiling.
- At the same time, lift your torso and reach your right hand toward your legs.
- Lower your legs and torso back to start with control.
- Repeat for the full interval.
- Switch sides and repeat lying on your right hip.
Kneel Plank Twist
Coming up onto one knee means your core also has to keep you balanced.
Meanwhile, the side bend and twist target your obliques through both lateral flexion and rotation.
Keep your hips stacked over your knee so the movement comes from your waist.
How to perform:
- Kneel upright on your left knee.
- Extend your right leg straight out to the side, foot on the mat.
- Place both hands behind your head with elbows wide.
- Bend your torso sideways toward your kneeling leg.
- Rotate your chest slightly down as you bend.
- Return to an upright kneeling position.
- Repeat for the full interval.
- Switch sides, kneeling on your right knee with your left leg extended.
X-Bear Plank
The bear plank hold keeps your entire core and shoulders engaged from start to finish.
Plus, driving each knee across adds rotation, which brings your obliques into play.
To keep your abs doing the work, avoid letting your hips rise.
How to perform:
- Start on your hands and knees.
- Place your hands under your shoulders and knees under your hips.
- Tuck your toes and lift your knees just off the mat.
- Drive one knee forward and across toward the opposite hand.
- Return that foot back to the starting position.
- Drive the other knee forward and across to the other side.
- Keep your knees hovering and back flat throughout.
- Continue alternating sides for the full interval.
Scissors Leg Lower
This scissor variation targets your lower abs, which work harder as your legs drop.
That’s because a longer lever means more load, so only lower as far as you can control.
Keeping your chest open also stops you from sinking into your shoulders.
How to perform:
- Sit on the mat and lean back onto your forearms.
- Place your elbows under your shoulders.
- Lift both straight legs up toward the ceiling.
- Scissor your legs, moving one up as the other moves down.
- Keep scissoring as you slowly lower your legs toward the floor.
- Continue scissoring as you raise your legs back up.
- Keep your legs straight and off the mat throughout.
- Repeat for the full interval.
Deadstop Plank
Curious about the name? In strength training, a deadstop means pausing at the bottom of each rep.
That pause eliminates bounce, so rebuilding the plank every rep is the real challenge.
Keep each touch light, though, so your core stays switched on.
How to perform:
- Start in a forearm plank on the mat.
- Place your elbows under your shoulders with forearms flat.
- Extend your legs back and balance on your toes.
- Keep your body in a straight line from head to heels.
- Lower both knees down to tap the mat.
- Lift your knees back up into the full plank.
- Repeat for the full interval.
Bird Dog
Bird dogs are a go-to core exercise for spinal stability, and this version adds a crunch.
The reach also recruits your glutes and back muscles, and the two-point balance is harder than it looks.
So keep the reps slow and your hips square.
How to perform:
- Start on your hands and knees.
- Place your hands under your shoulders and knees under your hips.
- Extend your right leg straight back and up behind you.
- At the same time, reach the opposite arm straight forward.
- Draw the knee and elbow in toward each other under your body.
- Extend the leg and arm back out again.
- Keep the other hand and knee planted on the mat.
- Repeat for the full interval.
- Switch sides and repeat with your left leg.
Bear Plank Tap
Shoulder taps may seem like easy abs work, but the hovering bear position changes that quickly.
Each time a hand lifts, your core resists rotation while the supporting shoulder works to stabilize you.
For a gentler option, keep your knees on the mat.
How to perform:
- Start on your hands and knees.
- Place your hands under your shoulders and knees under your hips.
- Tuck your toes and lift your knees just off the mat.
- Lift one hand and tap your opposite shoulder.
- Place that hand back on the mat.
- Lift the other hand and tap the opposite shoulder.
- Keep your knees hovering and hips steady throughout.
- Continue alternating hands for the full interval.
5s Hollow Hold
Borrowed from gymnastics, the hollow hold builds total core strength in a single position.
As the final strength move, it uses 5-second holds to keep your form sharp.
If your lower back lifts, raise your legs slightly to reduce the load.
How to perform:
- Lie on your back and lift your head and shoulders off the mat.
- Reach both arms up overhead at an angle.
- Bend your knees and lift your feet off the mat.
- Extend both legs out long at a low angle.
- Hold this hollow position for 5 seconds.
- Bend your knees and draw them back in.
- Lower your feet briefly toward the mat.
- Keep your shoulders and arms lifted throughout.
- Repeat the 5-second hold for the full interval.
Diagonal Twist
With the toughest part of this at home ab workout behind you, it’s time to cool down.
This seated stretch lengthens the obliques and upper back after all that twisting and bracing.
Keep it gentle, since the goal now is recovery rather than intensity.
How to perform:
- Sit on the mat with your legs crossed.
- Reach one hand across your body to the opposite knee.
- Raise your other arm up and over your head.
- Lean your torso diagonally forward and to the side.
- Let your head drop down and relax your neck.
- Hold and breathe steadily for the full interval.
- Switch sides and repeat.
Cat + Cow
Cat and cow alternates between spinal flexion and extension, which restores mobility through your whole back.
It’s a classic yoga pairing, and it works best when synced with your breath.
Simply exhale as you round into cat, then inhale as you arch into cow.
How to perform:
- Start on your hands and knees.
- Place your hands under your shoulders and knees under your hips.
- Round your back up toward the ceiling.
- Drop your head and tuck your chin toward your chest.
- Arch your back, dropping your belly toward the mat.
- Lift your chest and head to look forward.
- Continue flowing between both positions for the full interval.
Cobra
After so much spinal flexion, the cobra reverses the pattern with a gentle backbend.
As a result, it stretches your abs while opening up your chest and shoulders.
If you feel pinching in your lower back, bend your elbows and stay lower.
How to perform:
- Lie face down with your legs extended behind you.
- Place your hands on the mat under your shoulders.
- Press through your hands and lift your chest off the mat.
- Straighten your arms as far as comfortable.
- Keep your hips and legs resting on the mat.
- Look forward and keep your shoulders relaxed.
- Hold and breathe steadily for the full interval.
Back Stretch
To close out this easy ab workout, a supine twist releases your lower back and glutes.
Twists like this also restore rotational mobility, which is why they’re a cooldown favorite.
So take your time here and let gravity do most of the work.
How to perform:
- Lie on your back with both legs extended.
- Bend your right knee and draw it up.
- Guide the knee across your body toward the left side of the mat.
- Hold the knee down with your left hand.
- Keep your left leg straight on the mat.
- Extend your right arm out to the side on the mat.
- Let your hips and torso rotate with the knee.
- Hold and breathe steadily for the full interval.
- Switch sides and repeat with your left knee.
Article Medically reviewed by
I’m fitness coach Ashley Castleberry, an NASM-certified personal trainer and nutritionist, as well as a coach on an established YouTube Channel with over 1 million followers. With certifications from major fitness brands, I specialize in athletic, HIIT, and strength training. Leveraging my experience coaching clients on lifestyle changes, I provide customized exercise and nutrition guidance to help people reach their fitness goals, whether that be weight loss, muscle gain or overall health improvement.