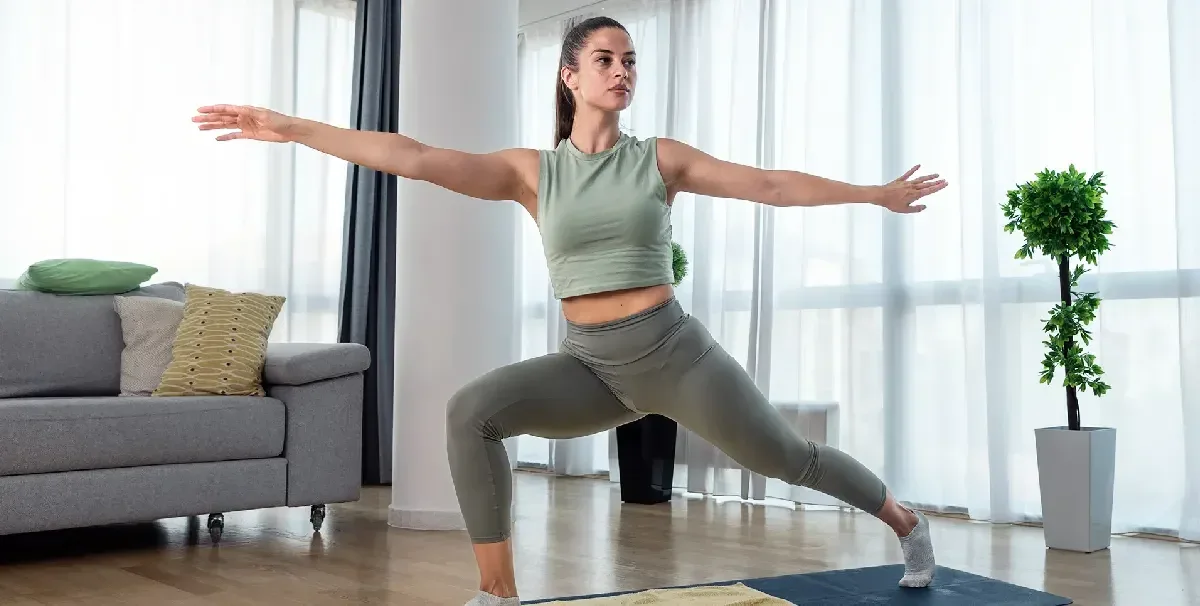
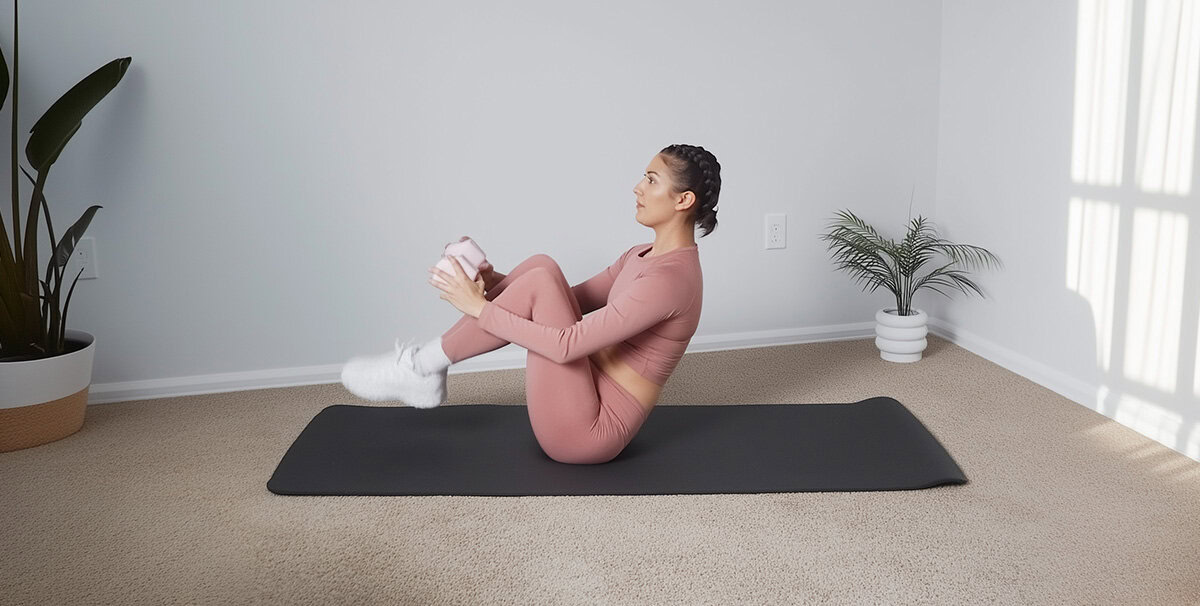
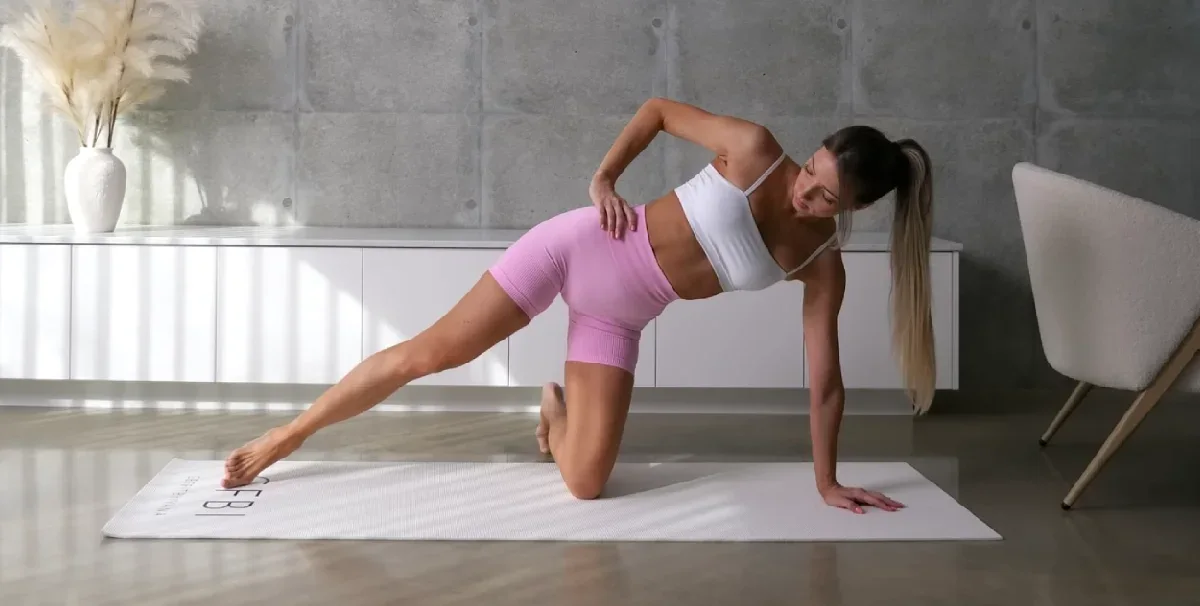
Works as a quick morning stretch? Check.
Relieves the tension built up in your muscles after a long day at the office? Check.
Doubles as a way to get your body moving on your rest days? Check.
This sequence is FLEXIBLE… which is also what your body will feel like in 12 minutes from now. Just practice your deep belly breaths and give this flexibility workout routine a go!
Download this free printable Workout Tracker! Plus receive weekly workout tips when you subscribe.

Neck Rolls
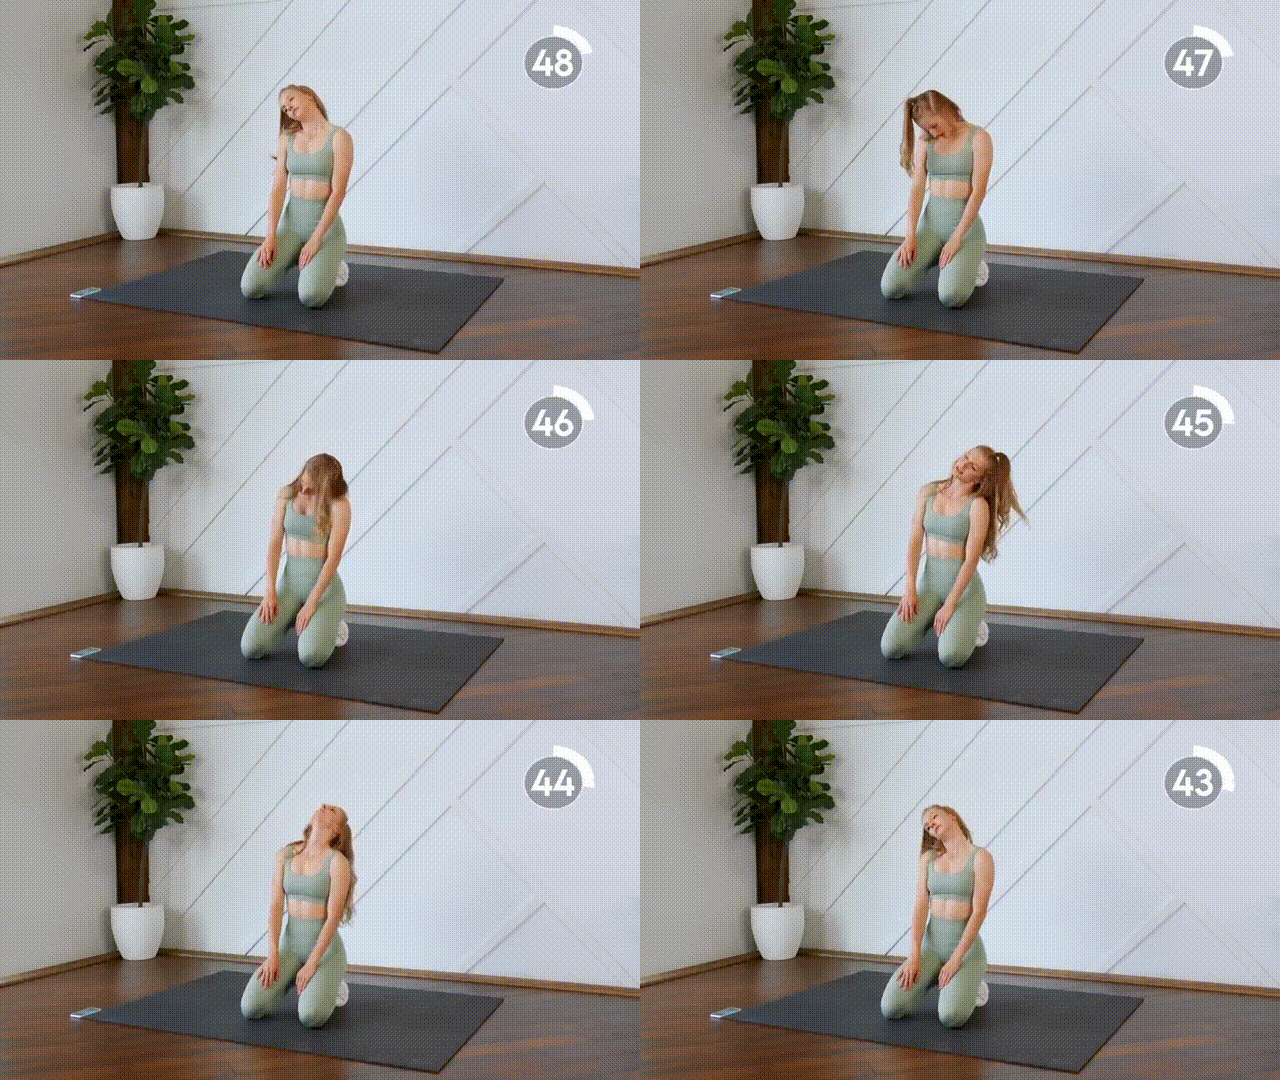
First things first, let’s get that neck stiffness out of the way. If it helps to perform this exercise sitting or kneeling, go for it.
How to perform:
- Face straight ahead of you.
- Gently tip your head to the side.
- From the side, move your head in a big circle three times.
- Switch directions and roll.
- Repeat for a minute.
Side-Bend Stretches
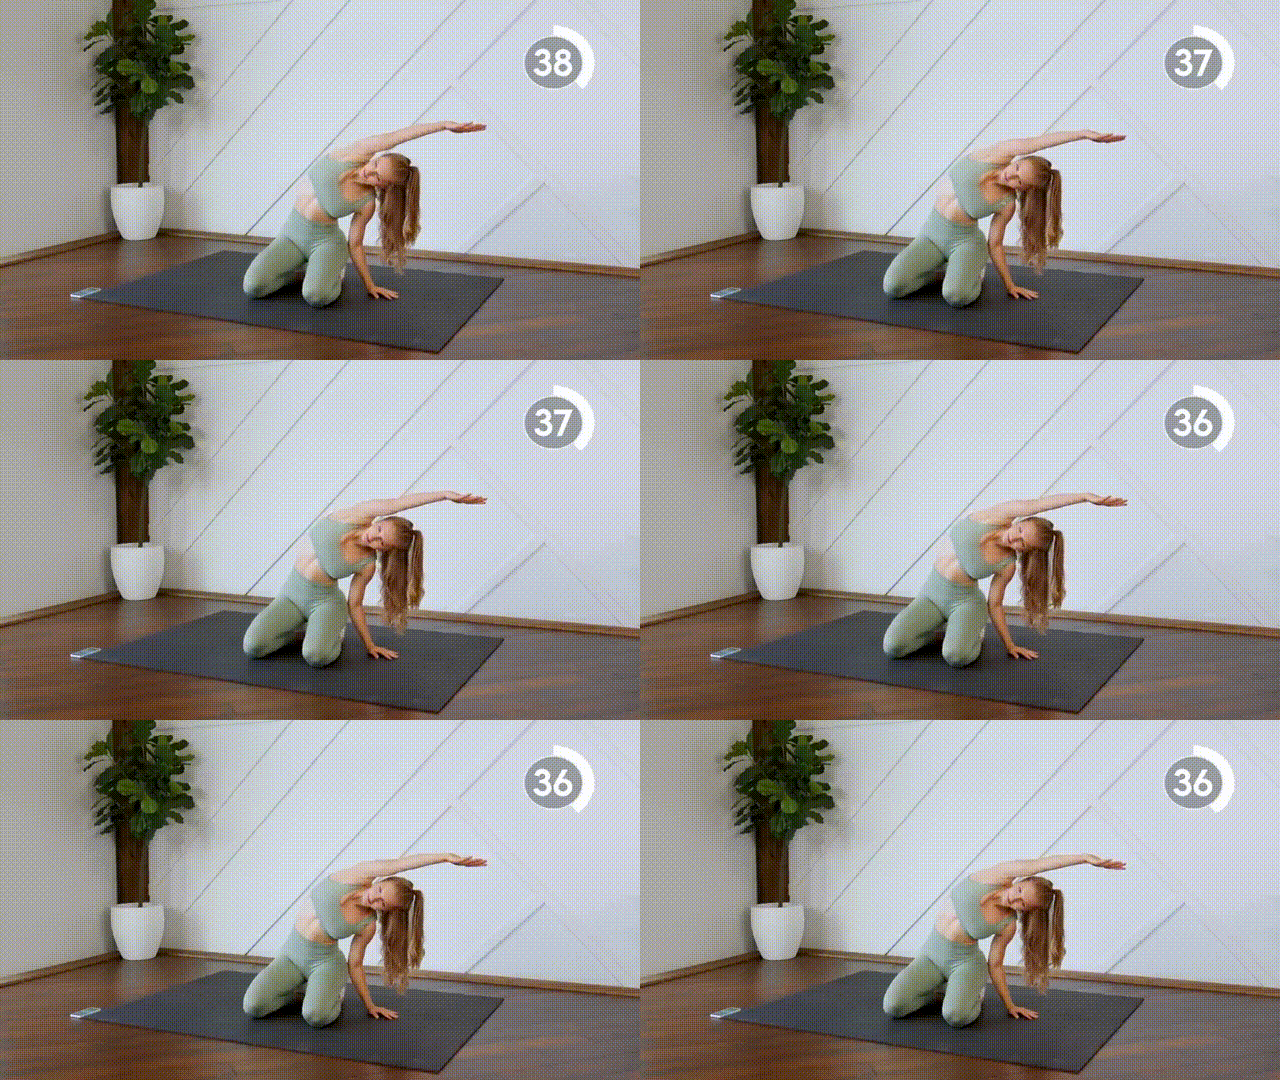
Next is a move that primarily targets the intercostal muscles (the muscles between the ribs). But you’ll also feel the stretch all along your side.
How to perform:
- Start in a kneeling position.
- Place one arm on the mat for support as you raise the other over your head.
- Reach over to really feel the stretch in your side.
- Hold for 5–10 seconds.
- Return, switch sides, and repeat.
- Repeat once more on each side.
Flat-Back Hamstring Stretch
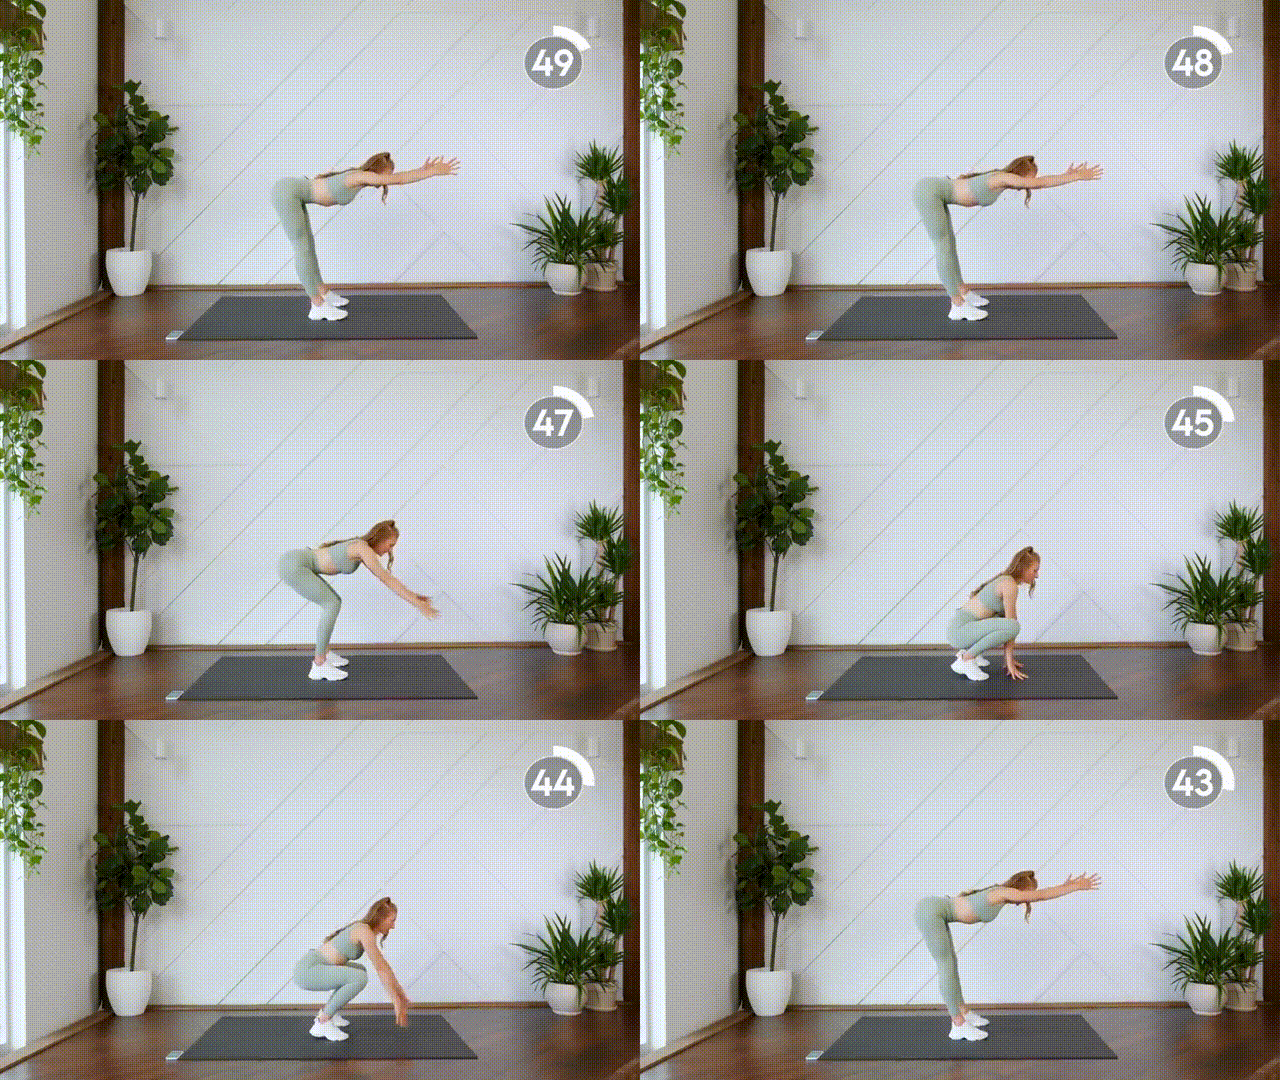
As you might have guessed, the goal here is to maintain a straight back while stretching your hamstrings as much as possible.
How to perform:
- Get into a wide stance and hinge at the hips, sending your booty back.
- Reach out with your hand to enhance the stretch.
- Hold briefly.
- Drop into a deep squat and bounce, all without arching your back.
- Get back up and repeat for up to a minute.
Child’s Pose Into Cobra
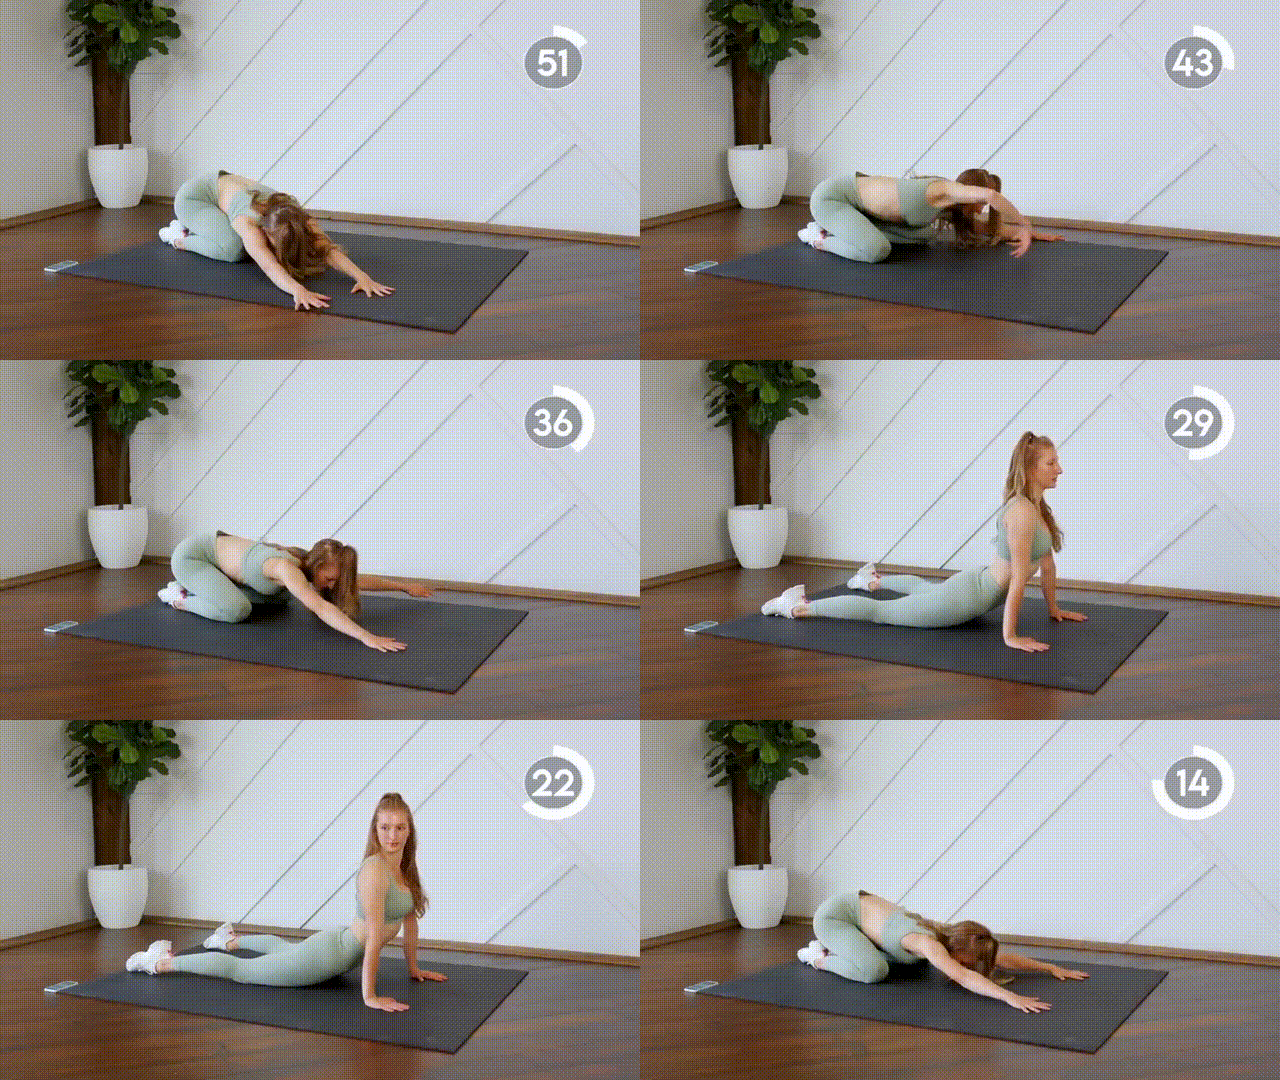
In some yoga exercises, forward bends and back bends come hand in hand. And that makes perfect sense—you stretch your body one way, and then the other.
So, let’s do two rounds of two counter poses.
How to perform:
- Stay by lying face down with your butt touching your heels and your arms spread forward.
- With a slight twist in your upper body, reach with your hands to the side. Hold briefly
- Switch to the other side and hold again.
- Return to center.
- When you’re ready, support yourself with your palms on the ground and shift to cobra.
- Get your hips flush with your ground and open up that chest.
- Repeat both poses once.
Lunge Twist
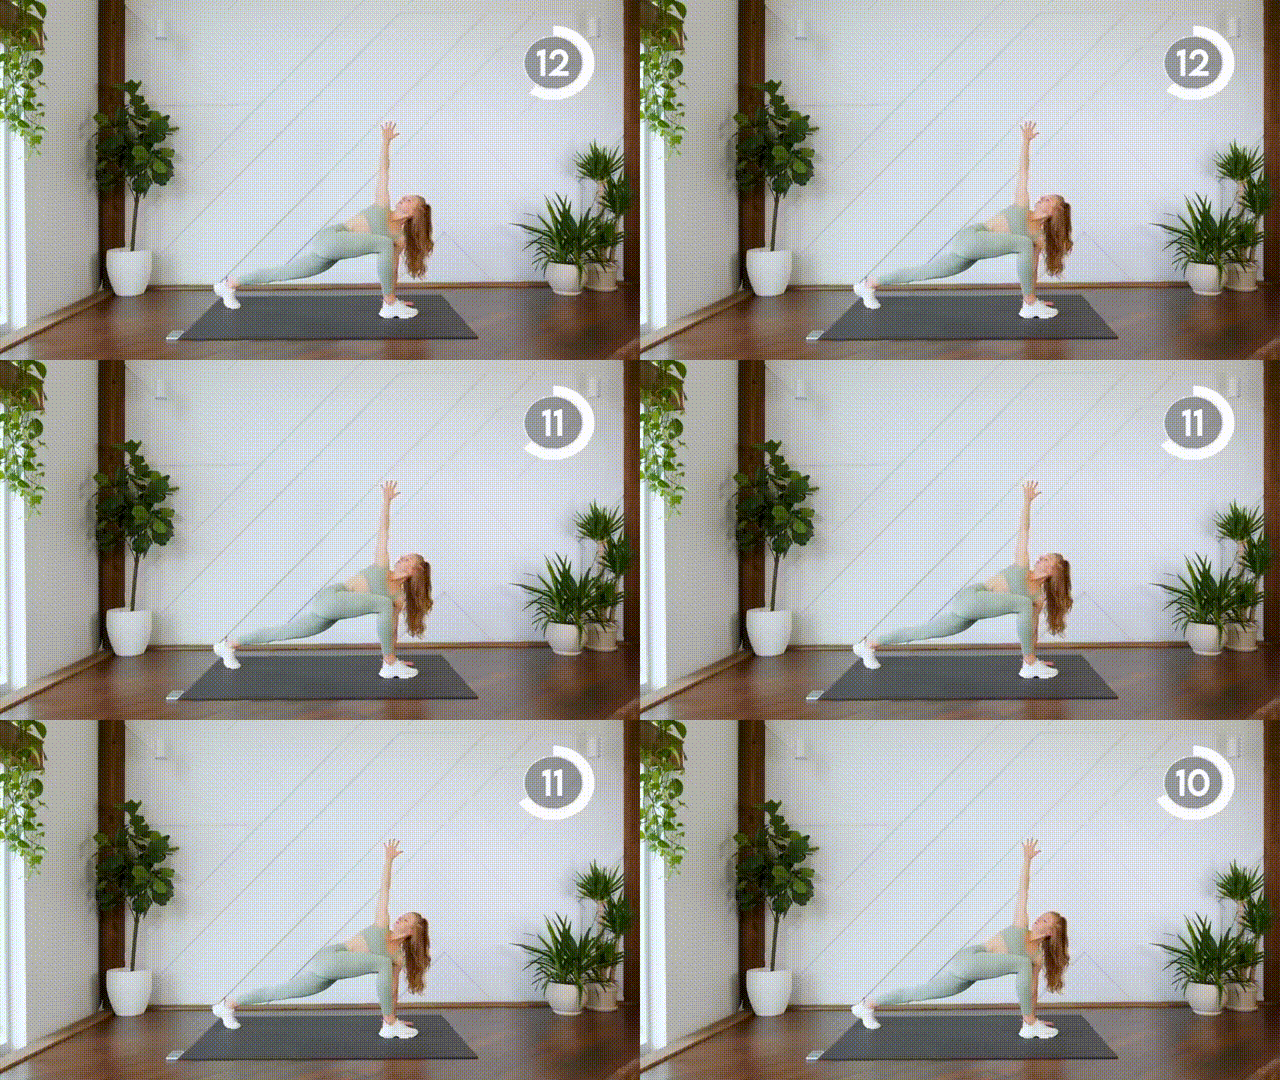
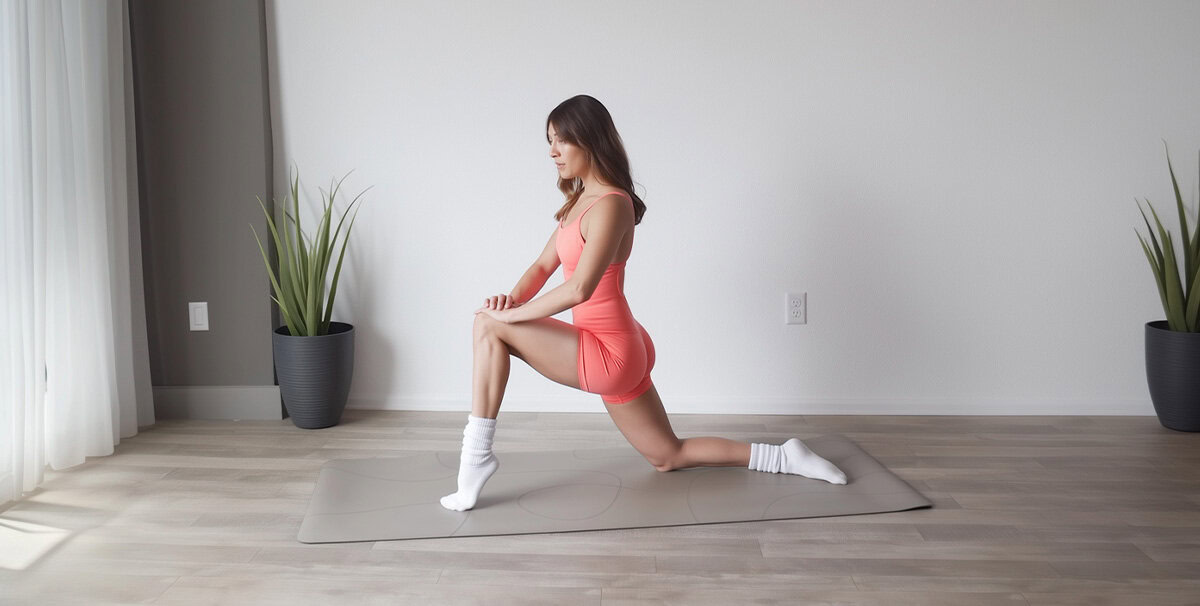
Don’t stand up straight after the cobra pose. Instead, come up into a low lunge.Get ready to build hip stability, warm up your core, and improve your spine’s mobility. This is a full-body stretching routine, after all!
How to perform:
- In the low-lunge position (right leg at 90°, left back on tiptoes), place your left hand on the mat for support.
- Make sure your front knee and ankle are stacked. You don’t want your knee to go over your toes.
- Twist your upper body and reach to the sky with your right arm.
- Hold for 15 seconds.
Deep Hip Stretch
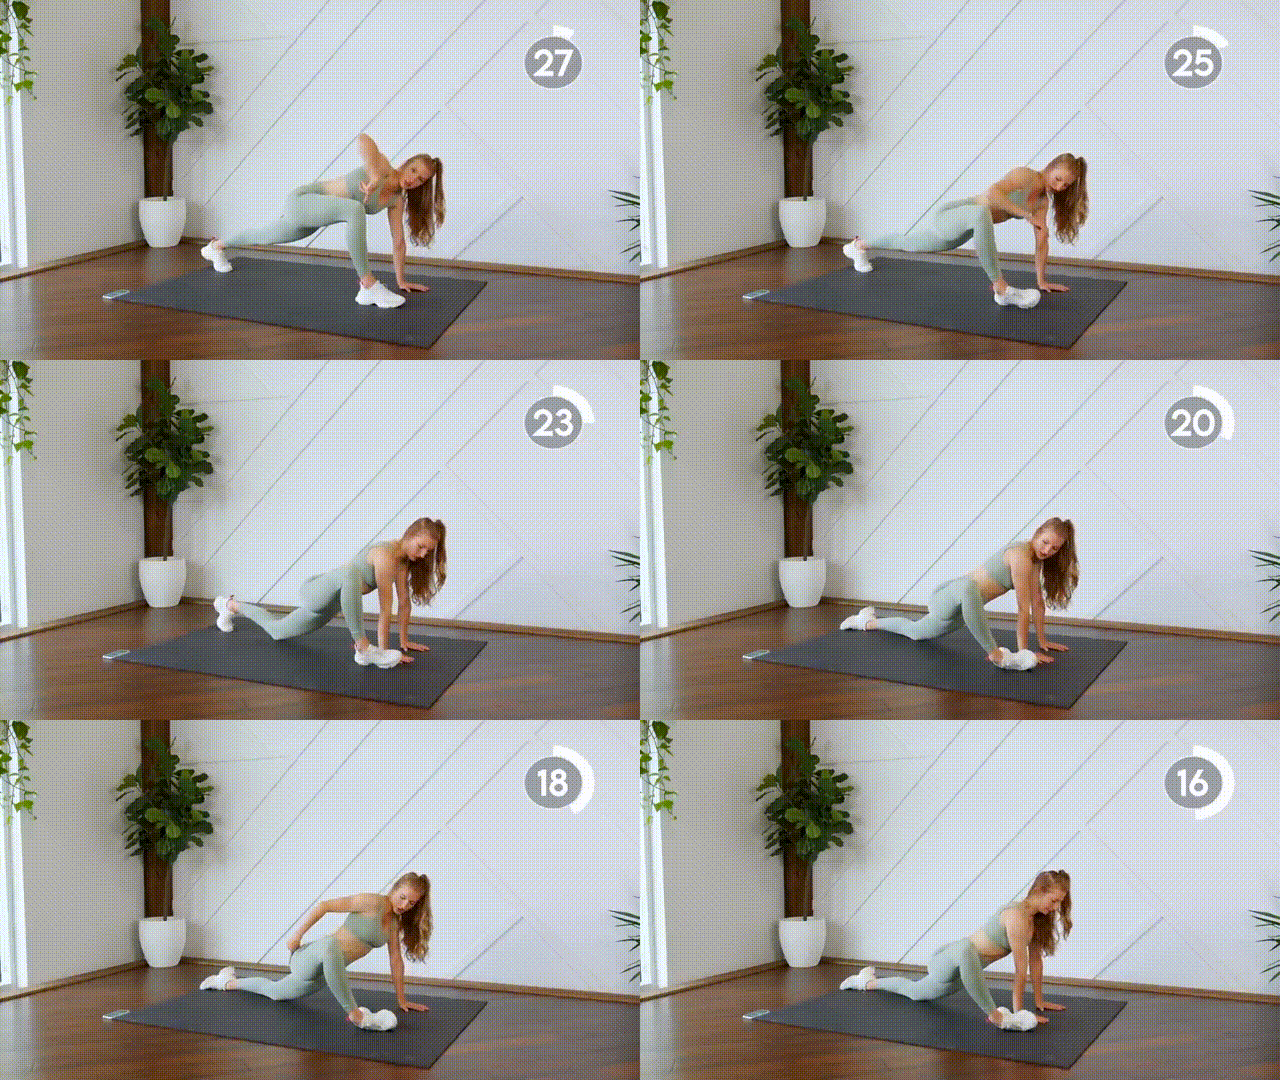
Keep holding that low lunge for a bit. We’re modifying the pose to really loosen those hips.
Let’s drop everything for a nice, deep stretch.
How to perform:
- Drop your right hand to the mat. Keep it on the INSIDE of your foot, next to your left hand.
- Drop your back (non-working) leg to the floor.
- Let your right knee drop outward.
- Hold for 20–30 seconds.
Hip Flexor Stretch
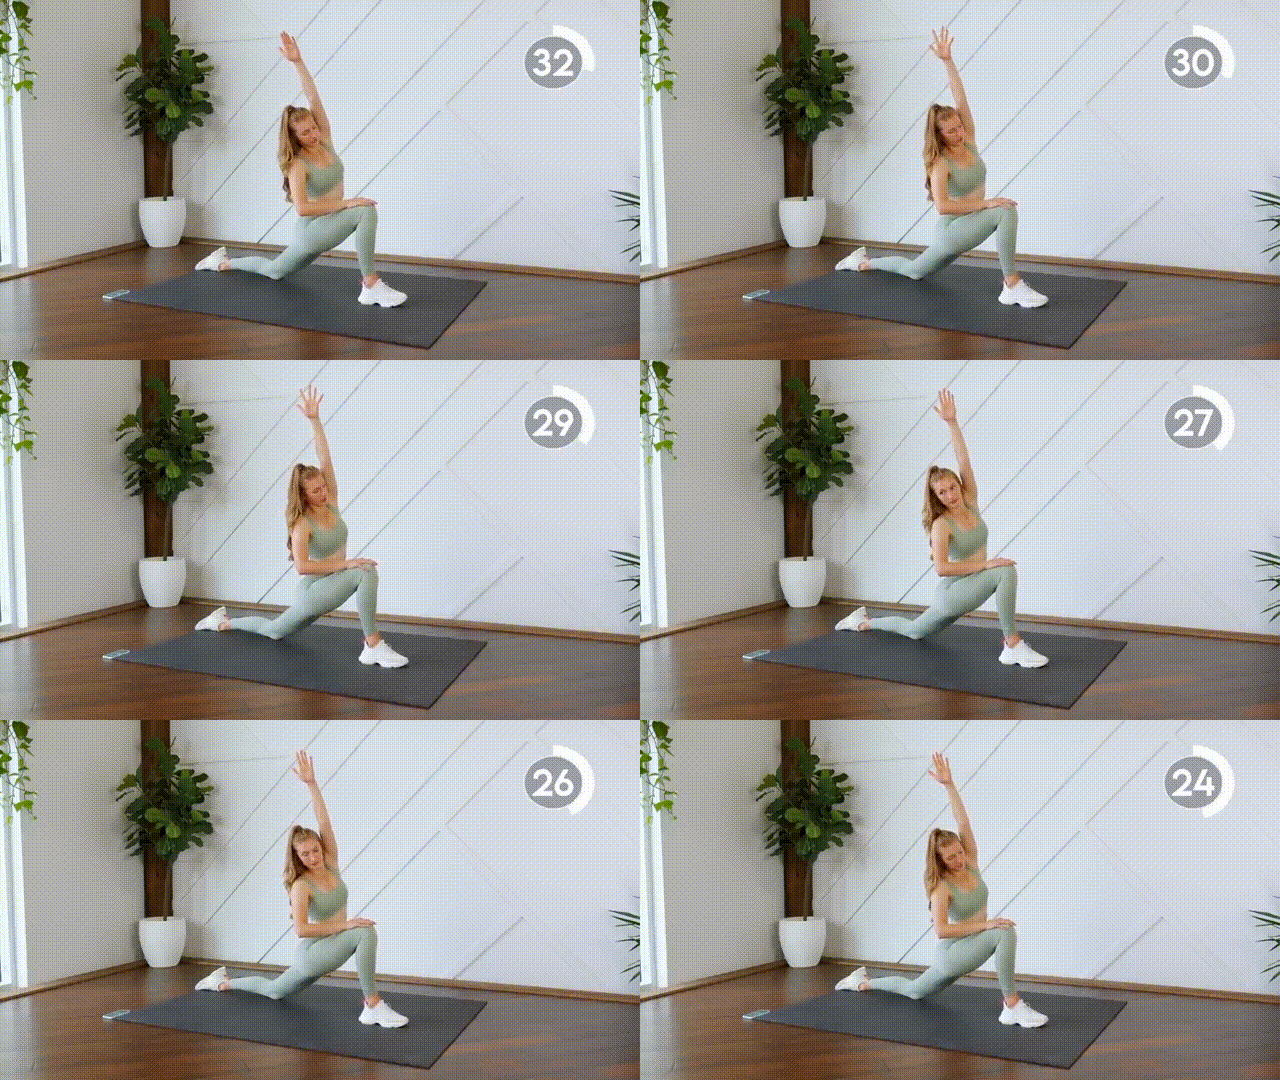
Next, we’re taking this modified half-kneel and using it to warm up the hip flexors on the opposite leg.
How to perform:
- Return to center from the deep hip stretch.
- Your left knee should be far behind you and touching the mat.
- Prop your right arm on your right knee and sink deep into the lunge.
- For an extra stretch, reach to the side with your left arm.
- Hold for 60 seconds.
Spinal Twist
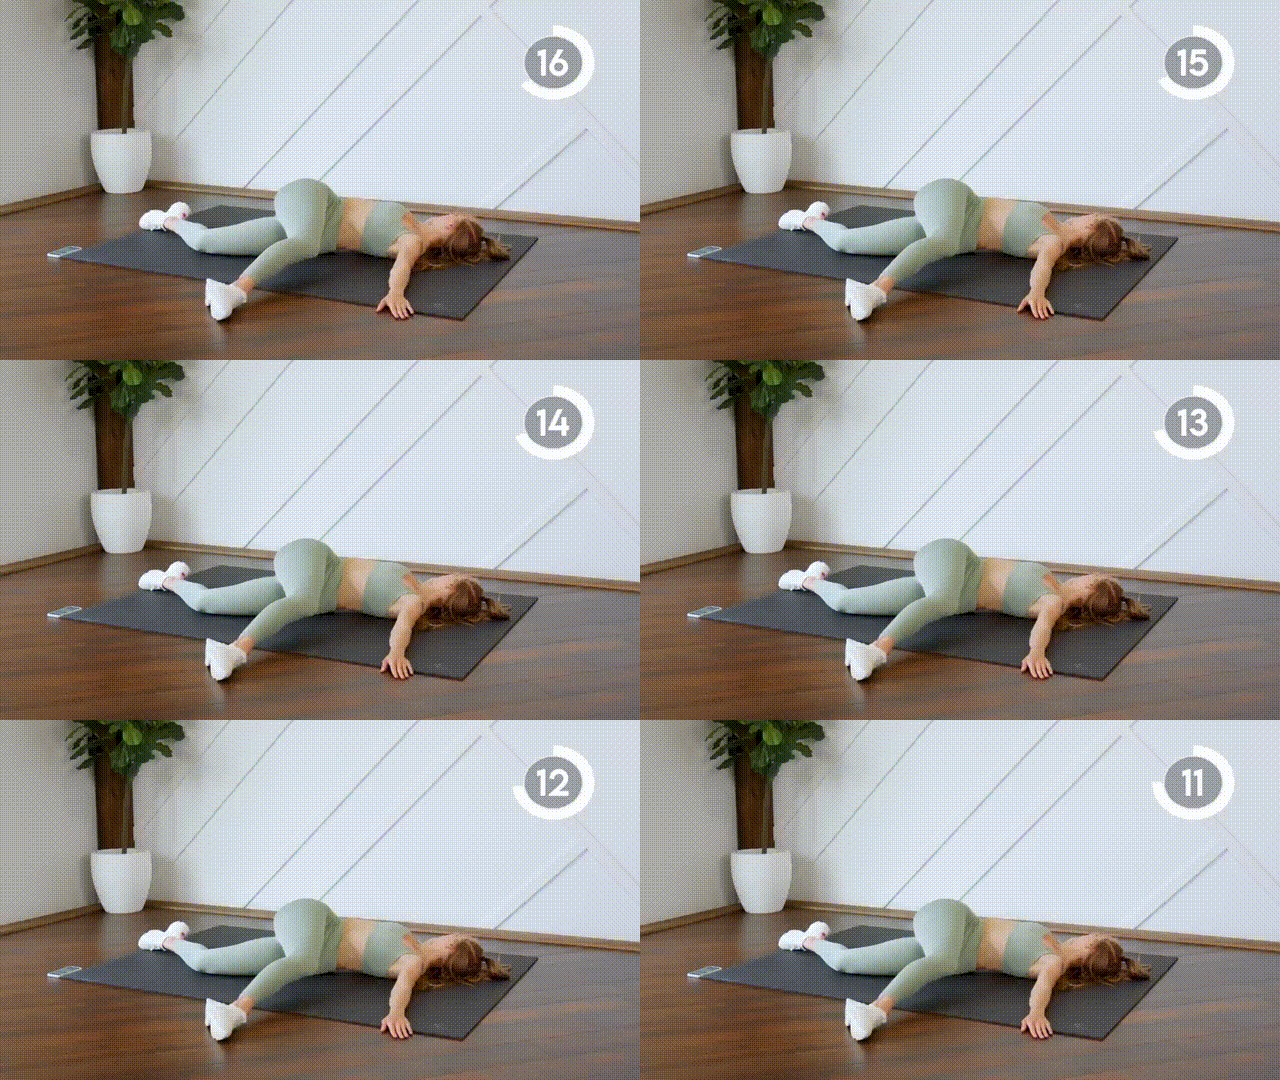
This next stretch is pretty much a quick fix for the dreaded office hunchback posture.
How to perform:
- Start flat on your back.
- Set your arms in a T position.
- Bend both knees (90°) and cross one knee to the side. Your hips should be stacked.
- Turn your head to face the other side.
- Hold for 40 seconds, switch sides, and repeat.
Glute Stretch
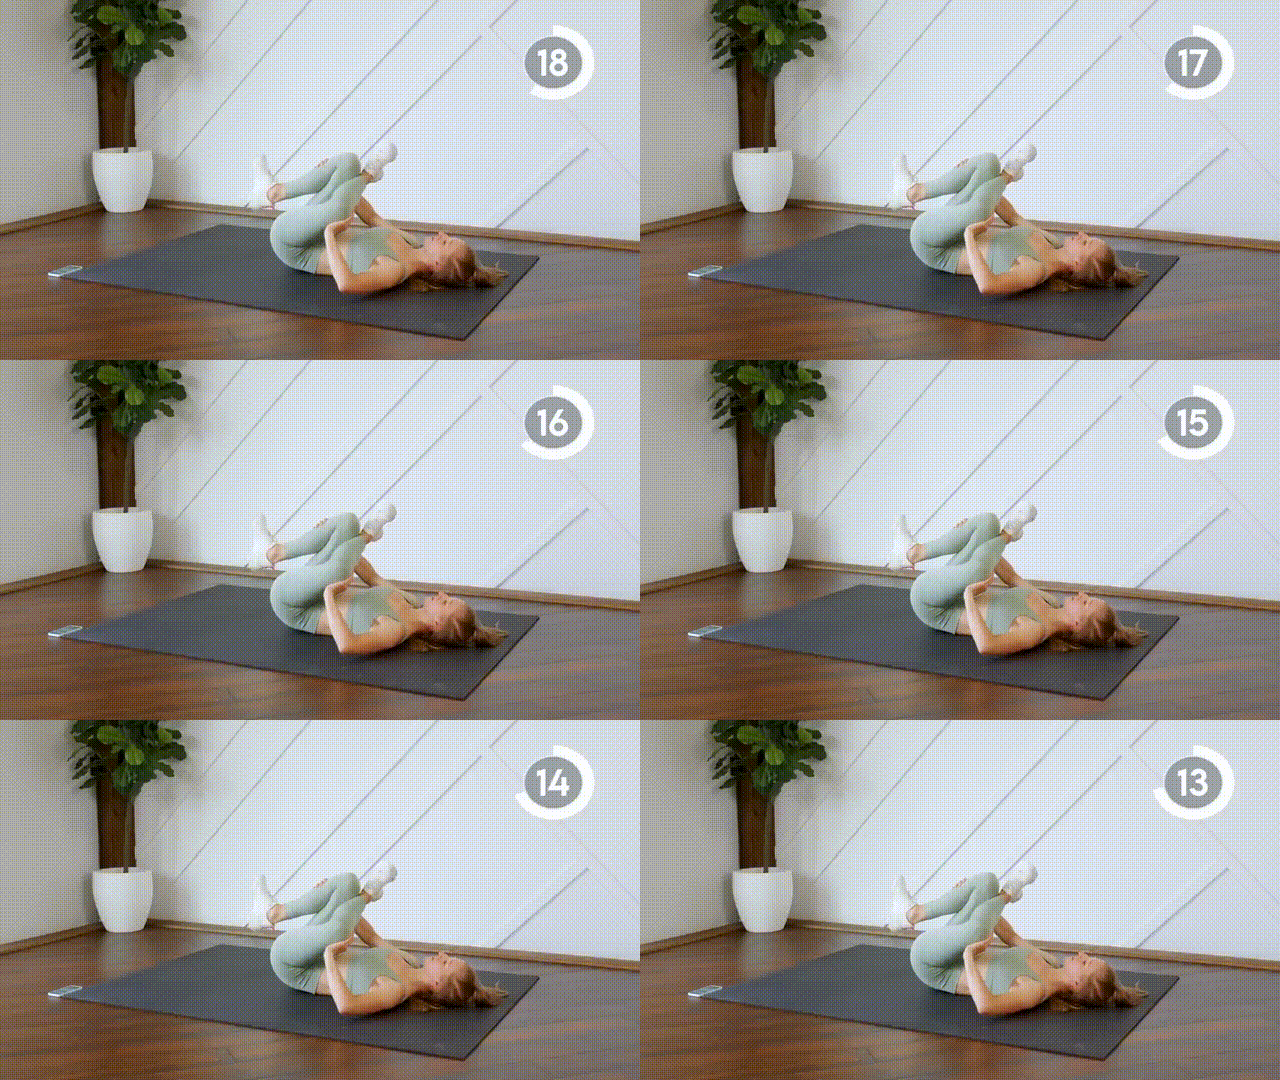
If you’ve done leg day warm-ups before, you’ve definitely heard of the standing figure-four stretch. Some folks do a seated figure-four.
For today’s basic stretching routine, however, we’re doing a supine variation.
How to perform:
- Lie flat on your back with your hips square.
- Choose a working leg and bend it 90° at the knee.
- The other leg should be bent all the way (i.e., with your heel almost touching your butt).
- Cross the working leg over the other and bring them both close to your chest.
- Set one hand on your knee and gently push the working leg outward.
- Use the other hand to push your supporting leg inwards.
- Hold for 40 seconds.
- Switch legs and repeat.
Bicep-Chest Stretch
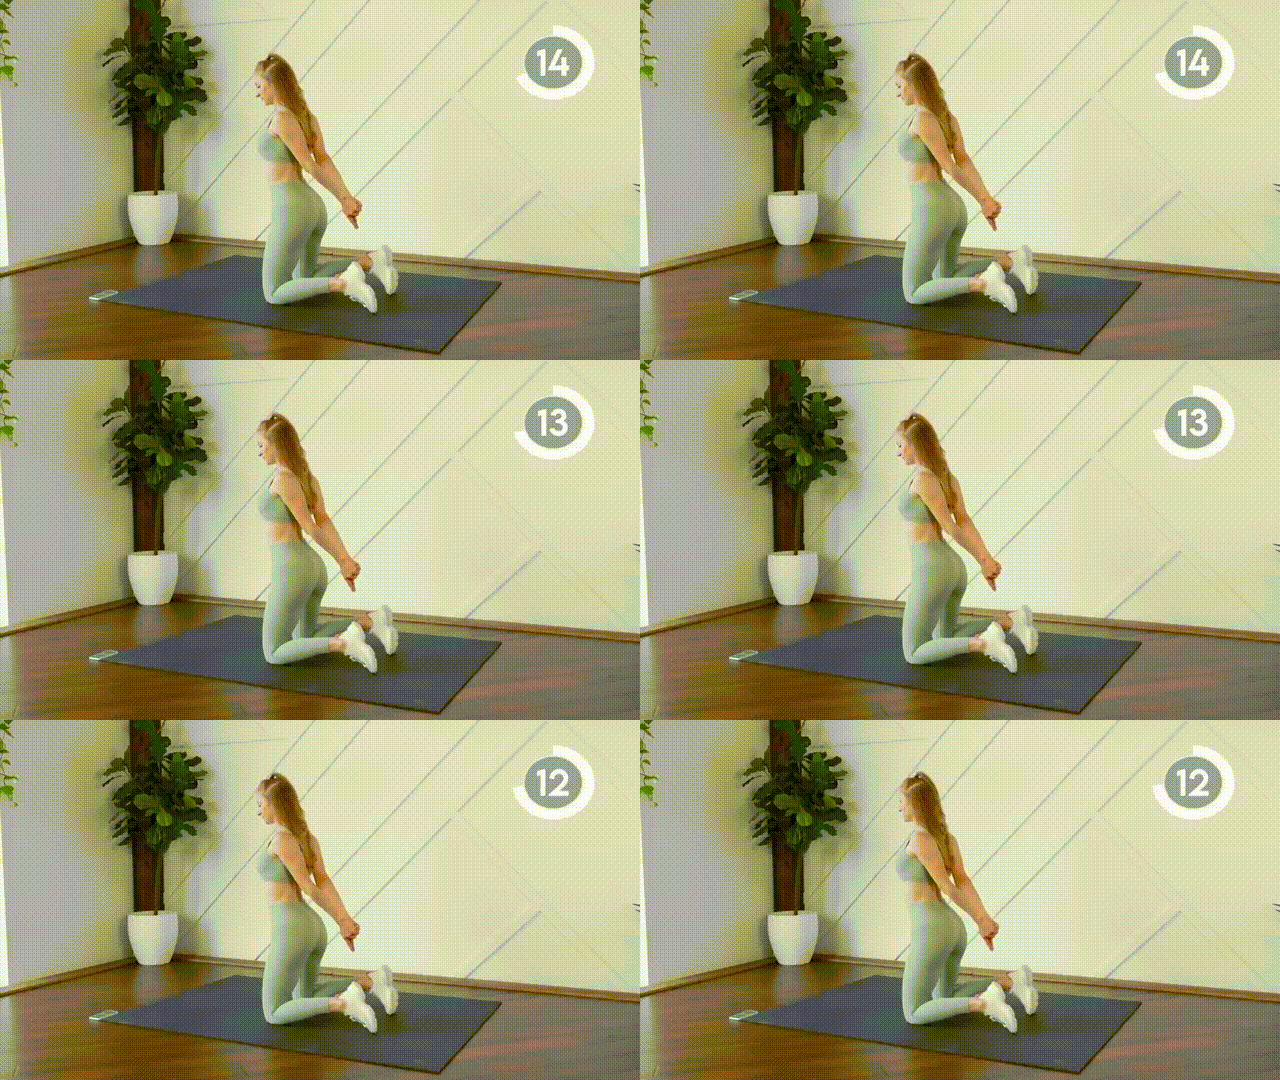
This seemingly simple move will open up your chest and relieve the tightness in your arms all in one fell swoop!
How to perform:
- Kneel and clasp your hands behind your back.
- Press your shoulders down and stretch your arms to open up your chest.
- Visualize yourself pushing your biceps away from your midline.
- Hold for up to a minute.
Lower Back Stretch
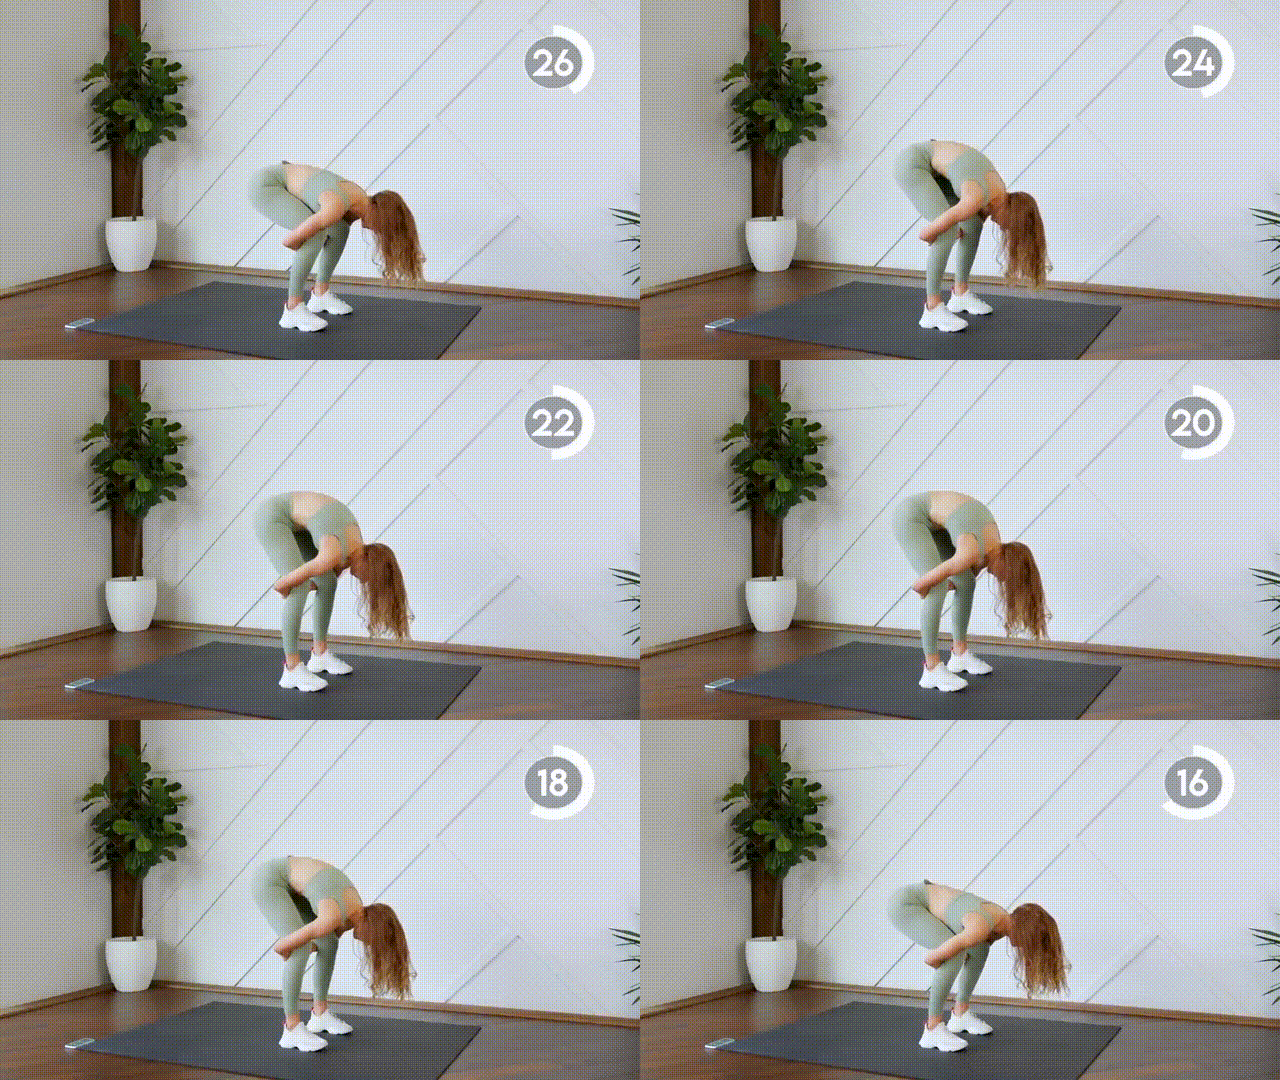
To wrap up this beginner-friendly flexibility routine, we’ll go for a quick back stretch.
How to perform:
- Stand with your feet hip-width apart.
- Hug your legs, setting your arms around your knees.
- Arch your back to feel a good stretch down your spine.
- Hold for a few seconds, taking a deep breath.
- Release the arch.
- Repeat for 40 seconds.
Article Medically reviewed by
I’m fitness coach Ashley Castleberry, an NASM-certified personal trainer and nutritionist, as well as a coach on an established YouTube Channel with over 1 million followers. With certifications from major fitness brands, I specialize in athletic, HIIT, and strength training. Leveraging my experience coaching clients on lifestyle changes, I provide customized exercise and nutrition guidance to help people reach their fitness goals, whether that be weight loss, muscle gain or overall health improvement.
