
Some days, fitting in a workout feels impossible, especially when every routine calls for equipment you don’t own. But this full body workout for women keeps things simple.
And inside, you’ll find 14 easy exercises in 15 minutes, with no repeats, no equipment, and no jumping. Plus, each one runs 45 seconds with a 15-second rest.
So grab some floor space, and let’s get started!

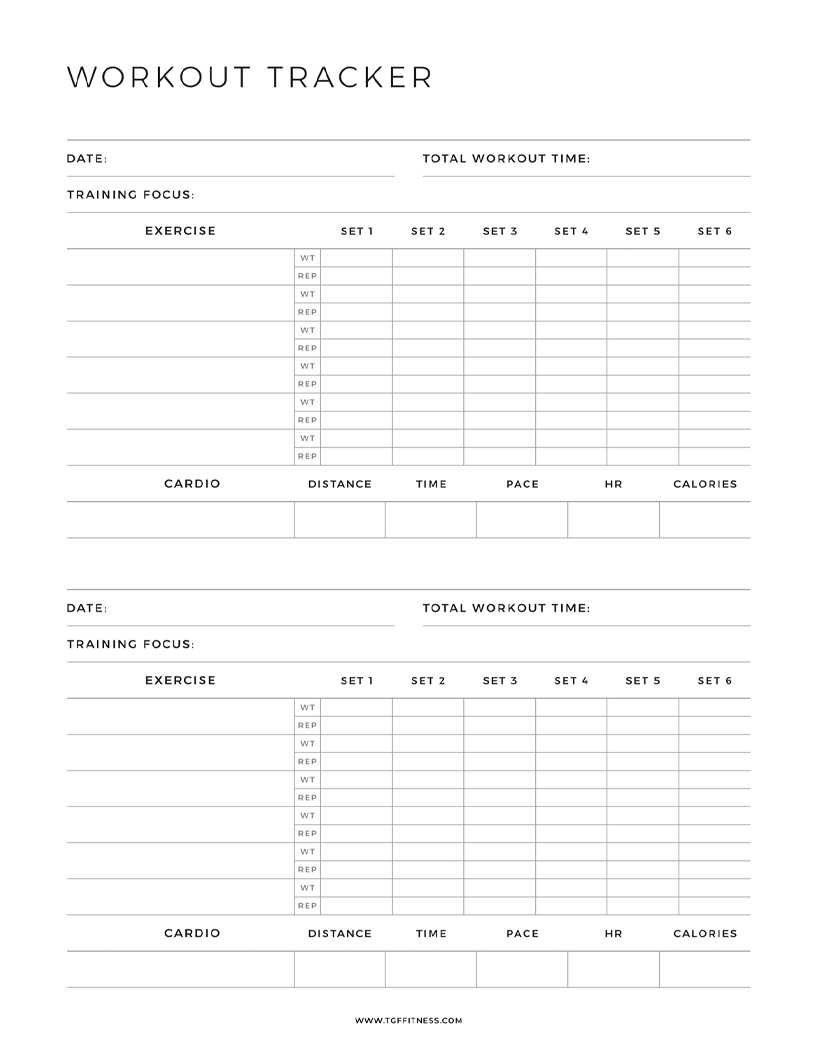
Download this free printable Workout Tracker! Plus receive weekly workout tips when you subscribe.
Side Toe Tap
First up is a simple standing move that eases you into the session without any jumping.
But the real work happens on the way down, since you’re reaching for the floor while sending those lower abs up to the sky.
So it looks gentle, but your core stays switched on the whole time.
How to perform:
- Stand tall with your feet about hip-width apart.
- Step one foot out wide to the side.
- Tap that toe down and reach your fingertips toward the floor.
- Draw your lower abs up and squeeze your core.
- Return to standing tall and centered.
- Alternate the same reach to the other side.
Squat with Rise
Next, we’re turning a regular squat into a full-body moment.
Because you’re rising all the way onto your tiptoes at the top, your calves get some love that squats usually skip.
And with your arms sweeping out and overhead, your upper back joins in too.
How to perform:
- Stand with your feet about shoulder-width apart.
- Lower into a squat and send your hips back.
- Open your arms out to the sides at shoulder height.
- Squeeze your shoulder blades together at the bottom.
- Drive up and rise onto your tiptoes.
- Sweep your arms overhead and squeeze your calves.
- Lower back down with control and repeat.
Tricep Extension
This one sneaks in two muscle groups at once, which is a nice bonus for a 15-minute session.
While your forearms extend back to fire up the triceps, that leg stepping behind you gives your glutes something to do.
So even though it looks small, there’s a lot going on.
How to perform:
- Stand with a slight hinge forward from your hips.
- Keep your back flat and your knees slightly bent.
- Pin your elbows tight against your ribs.
- Extend both forearms straight back to lock out your arms.
- Step one leg back and squeeze that glute.
- Return the forearms and the leg to the start.
- Keep your upper body at one level throughout.
- Alternate the stepping leg each rep.
Elbow to Knee Crunch
Who says crunches only happen on the floor? This standing version works your abs while you’re upright.
But the trick is lifting that knee up in front of you rather than pulling it to your chest, so your elbow has something to reach for.
And remember to exhale as you come down.
How to perform:
- Stand tall and extend both arms straight overhead.
- Lift one knee up in front of you.
- Bring the opposite elbow down to meet that knee.
- Crunch through your torso and exhale on the way down.
- Keep the knee lifting in front, not tucked to your chest.
- Return your arms overhead and your foot to the floor.
- Alternate opposite elbow to opposite knee.
Bird Dog
From here, it’s time to head down to the mat for a classic stability move.
Bird dogs look calm, but reaching opposite arm and leg away from each other while staying balanced takes real focus.
Though that’s exactly the point, since all that steadiness comes straight from your core.
How to perform:
- Start in tabletop with hands under shoulders, knees under hips.
- Extend one arm straight forward and the opposite leg straight back.
- Reach long through your fingertips and toes.
- Keep the extended leg’s hip pointing down toward the floor.
- Squeeze your glute and engage your core.
- Hold a neutral spine and avoid arching your back.
- Return to tabletop, then switch to the opposite arm and leg.
Pulse Donkey Kick
Since you’re already in tabletop, we’re staying put for some glute work.
And the double pulse at the top is what separates this from a regular donkey kick, because those extra beats keep your glutes under tension longer.
Just know you’ll finish one side before switching, so expect a good burn.
How to perform:
- Start in tabletop with hands under shoulders, knees under hips.
- Keep your knee bent at 90 degrees and your foot flexed.
- Drive that heel up toward the ceiling.
- Pulse the heel up twice at the top.
- Lower your knee back down toward the floor.
- Keep your working hip square and pointing down.
- Hold a neutral spine and don’t arch your back.
- Finish all reps, then switch to the other leg.
Shoulder Taps
Now we’re flipping the focus to your shoulders and core with a plank that moves.
Since every tap shifts your weight onto one arm, your whole midsection works overtime to keep your hips from swaying.
But if you need to, dropping to your knees is completely fine.
How to perform:
- Start in a high plank with hands under your shoulders.
- Set your feet wide for a stable base.
- Lift one hand and tap the opposite shoulder.
- Return that hand to the floor with control.
- Alternate tapping each shoulder with the opposite hand.
- Keep your core engaged and your hips steady, without swaying.
- To modify, drop your knees and set them a little wider.
Glute Bridge
Time to flip over onto your back for some plain old glute bridges.
Simple as they are, bridges do a great job of firing up your backside while giving your lower back a break.
Just don’t rush the lowering, since that control on the way down is half the exercise.
How to perform:
- Lie on your back with knees bent and feet flat.
- Press your heels down into the floor.
- Send your hips up as high as you can.
- Squeeze your glutes hard at the top.
- Keep your ribs down and avoid arching your back.
- Lower your hips down with control.
- Press your low back into the floor at the bottom.
Crunch
Staying on your back, we’re going old school with a round of regular crunches.
And the nice thing here is you get full freedom with your hands, so place them wherever helps you crunch most comfortably.
Because it’s a small movement, focus on quality over speed.
How to perform:
- Lie on your back with knees bent and feet flat.
- Set your hands at your temples, on your thighs, or reaching up.
- Press your lower back firmly into the floor.
- Curl your shoulder blades up off the mat.
- Keep your neck long and your chin unclenched.
- Lower your shoulders back down with control.
- Repeat at a steady, controlled pace.
Dead Bug
Dead bugs might have a funny name, but they’re one of the best lower ab moves out there.
Since your arms and legs travel in opposite directions, your core fights to keep that lower back glued to the floor.
And that press is the whole exercise, so don’t lose it.
How to perform:
- Lie on your back and lift your feet to 90 degrees.
- Extend both arms straight up toward the ceiling.
- Press your lower back into the floor.
- Extend one leg and the opposite arm away from you.
- Stop just before they touch the floor.
- Keep your lower back pressed down the whole time.
- Return your arm and leg to the start.
- Alternate to the opposite arm and leg.
Half Push-Up
One last exercise on the floor, and it’s a sneaky tough one.
Rather than counting reps, this one is all about the lowering phase, because fighting gravity on the way down is where real strength gets built.
And since you’re on your knees the whole time, it’s beginner friendly without being easy.
How to perform:
- Start on your knees in a modified plank position.
- Set your hands under your shoulders.
- Lower your body down slowly, like a negative.
- Hover just above the floor as long as you can.
- Lower the rest of the way and pause briefly.
- Push yourself back up to the start.
- Keep the lowering phase slow and controlled.
Good Morning
Back on your feet now for a move that’s all about the hip hinge.
Though they look simple, good mornings quietly train your hamstrings, glutes, and lower back, which makes them perfect practice for everyday bending and lifting.
So take your time, because a rushed hinge is where form starts to slip.
How to perform:
- Stand with your feet shoulder-width apart or slightly wider.
- Place your fingertips by your ears.
- Keep a slight bend in your knees throughout.
- Send your hips back and hinge forward with a flat back.
- Press your knees outward toward the outsides of your feet.
- Drive through your glutes to stand up as one unit.
- Return to standing tall and repeat.
Opposite Toe Touch
Sticking with the standing theme, this one adds a reach and a twist to that same hinge pattern.
Because you’re crossing your hand toward the opposite foot, your core and hamstrings end up sharing the work.
And your feet stay planted wide the whole time, so there’s no balancing act to worry about.
How to perform:
- Stand with your feet wide and arms open to the sides.
- Keep your core engaged and your back long.
- Hinge forward at your hips.
- Reach one hand across toward the opposite foot.
- Return to standing with your arms wide.
- Alternate, reaching the other hand to the opposite foot.
Standing Star Crunch
Just like that, you’ve made it to the final move.
The standing star crunch closes things out with one more twist for your obliques, though this time you’re working from a big, open star shape.
So reach for your knee or your toe, whichever feels better, and finish strong.
How to perform:
- Stand in a wide star with feet apart and arms overhead.
- Lift one knee up in front of you.
- Reach the opposite hand down toward that knee.
- Crunch your torso over toward that side.
- Return to the tall star position.
- Alternate opposite hand to opposite knee.
Article Medically reviewed by
I’m fitness coach Ashley Castleberry, an NASM-certified personal trainer and nutritionist, as well as a coach on an established YouTube Channel with over 1 million followers. With certifications from major fitness brands, I specialize in athletic, HIIT, and strength training. Leveraging my experience coaching clients on lifestyle changes, I provide customized exercise and nutrition guidance to help people reach their fitness goals, whether that be weight loss, muscle gain or overall health improvement.