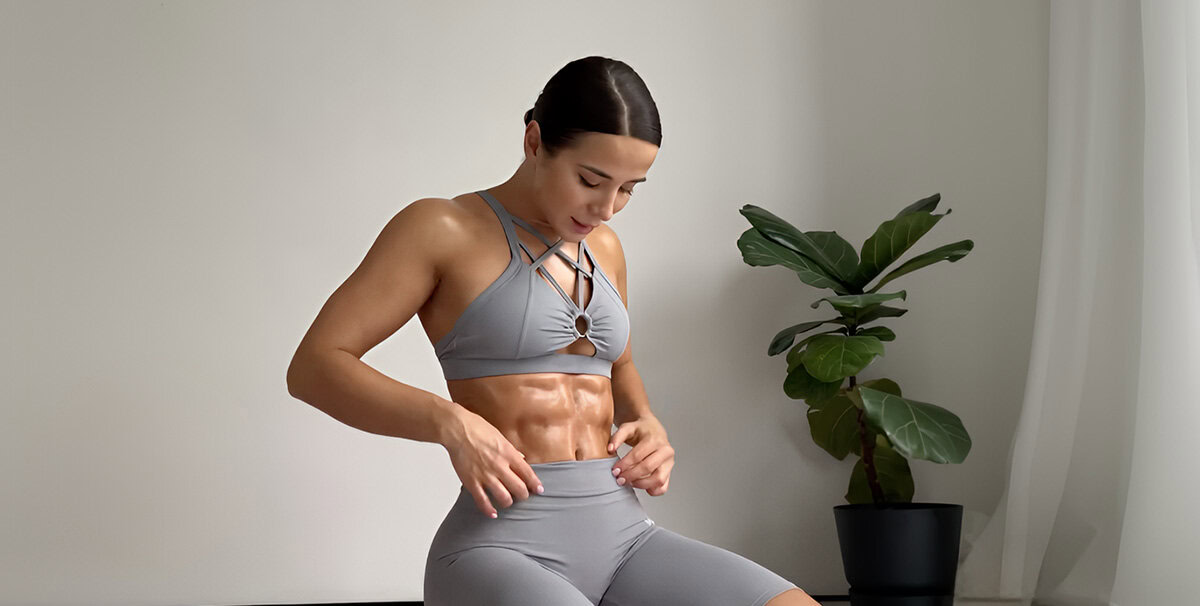
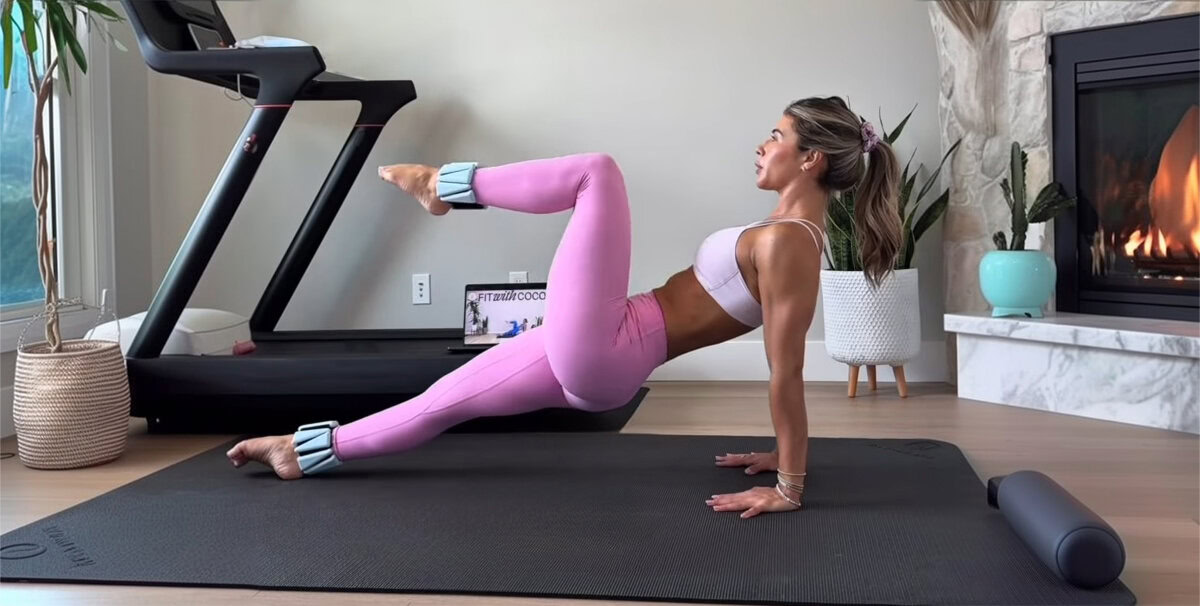
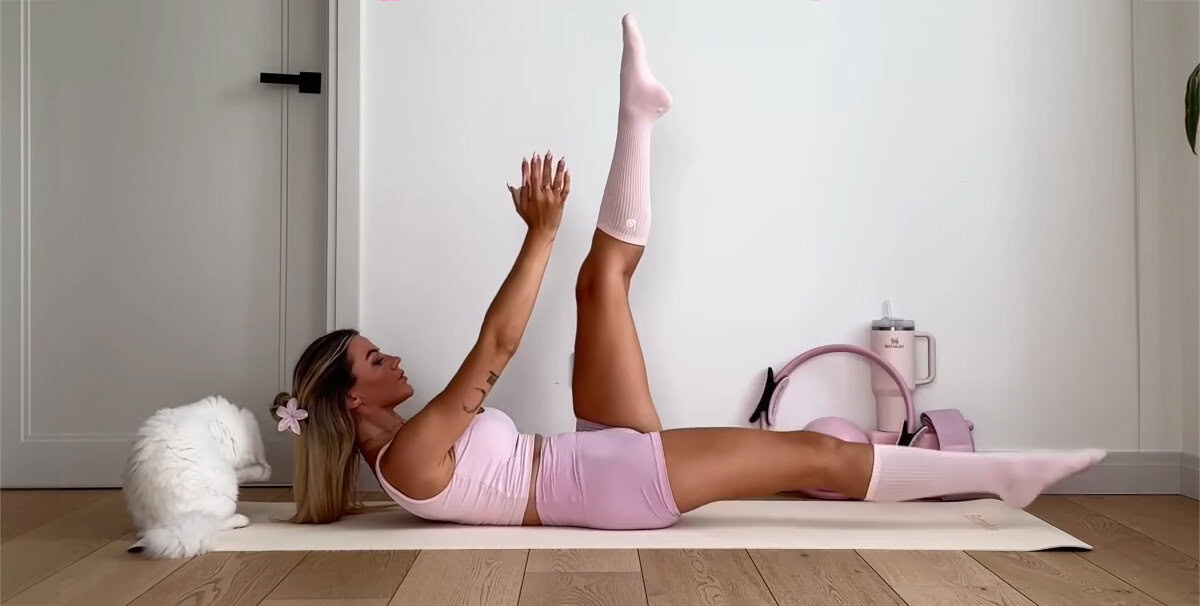
Let’s talk about lower abs for a second. You know that area that never seems to budge no matter how many crunches you do?
Yeah, that one. Truth is, regular crunches barely touch those muscles.
Good news—I’ve got a lower abs workout for women that actually targets them. No equipment, no BS. Just 10 moves that get right to work. Ready?
Save This On Pinterest!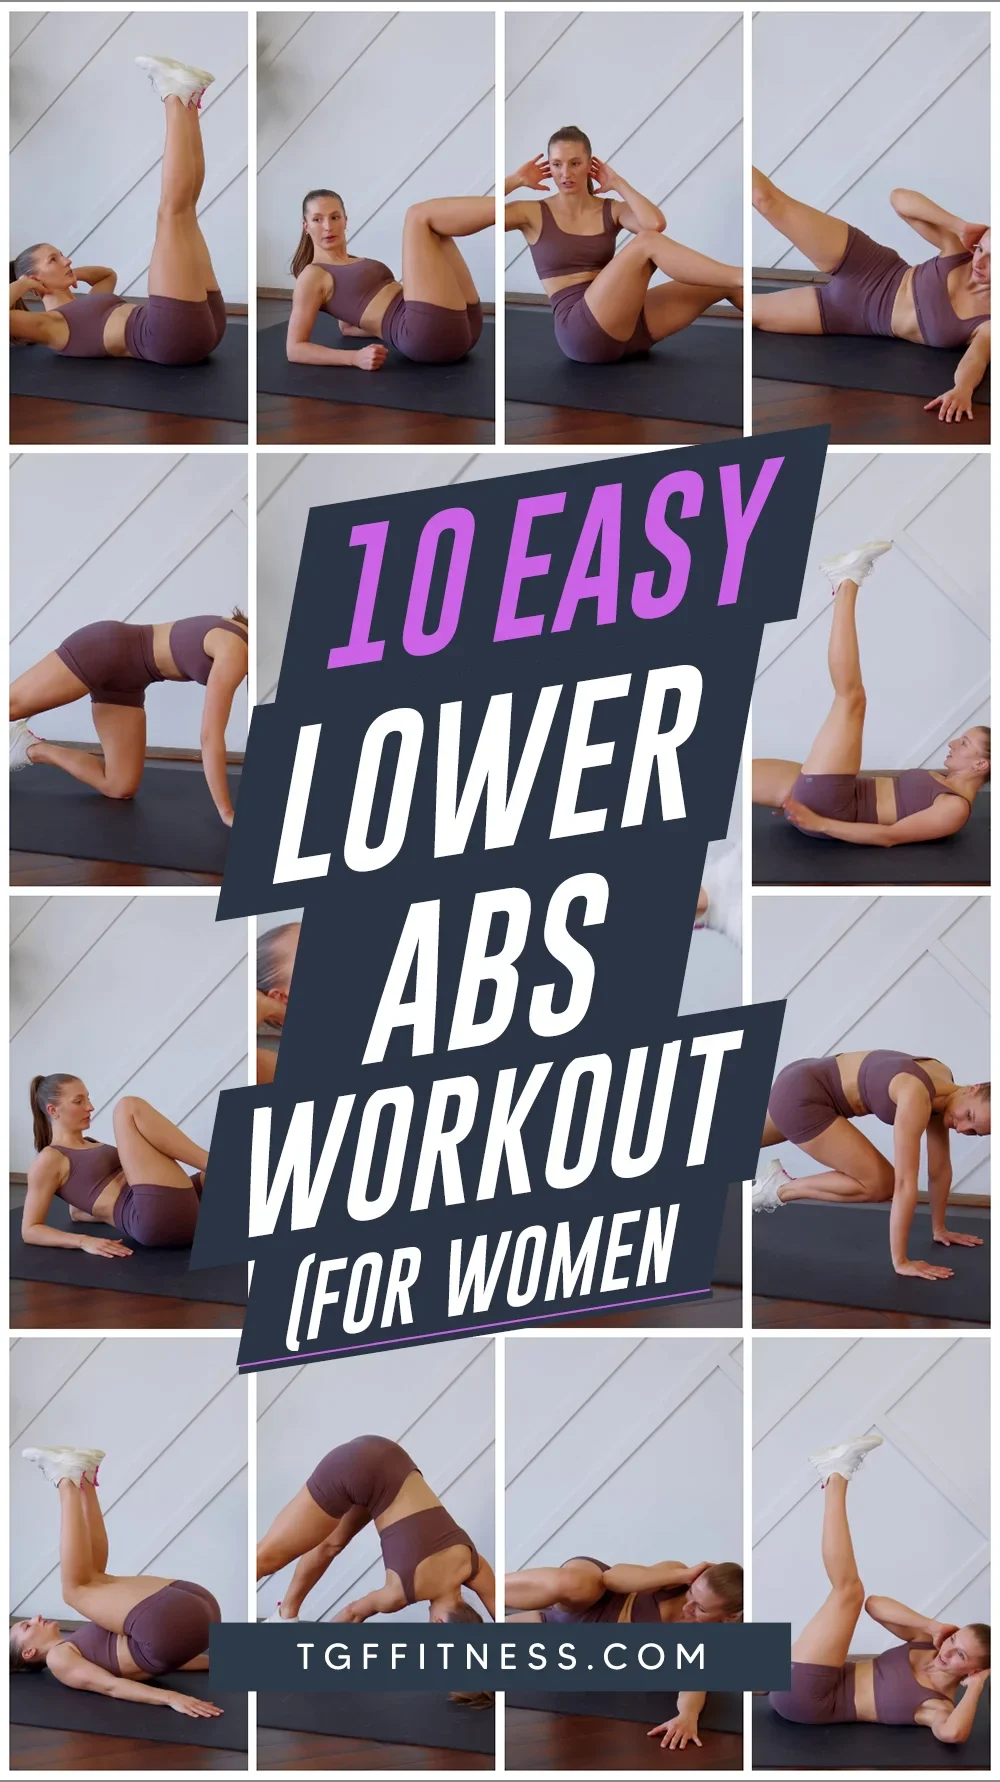
Download this free printable Workout Tracker! Plus receive weekly workout tips when you subscribe.
Lowering Leg Drops
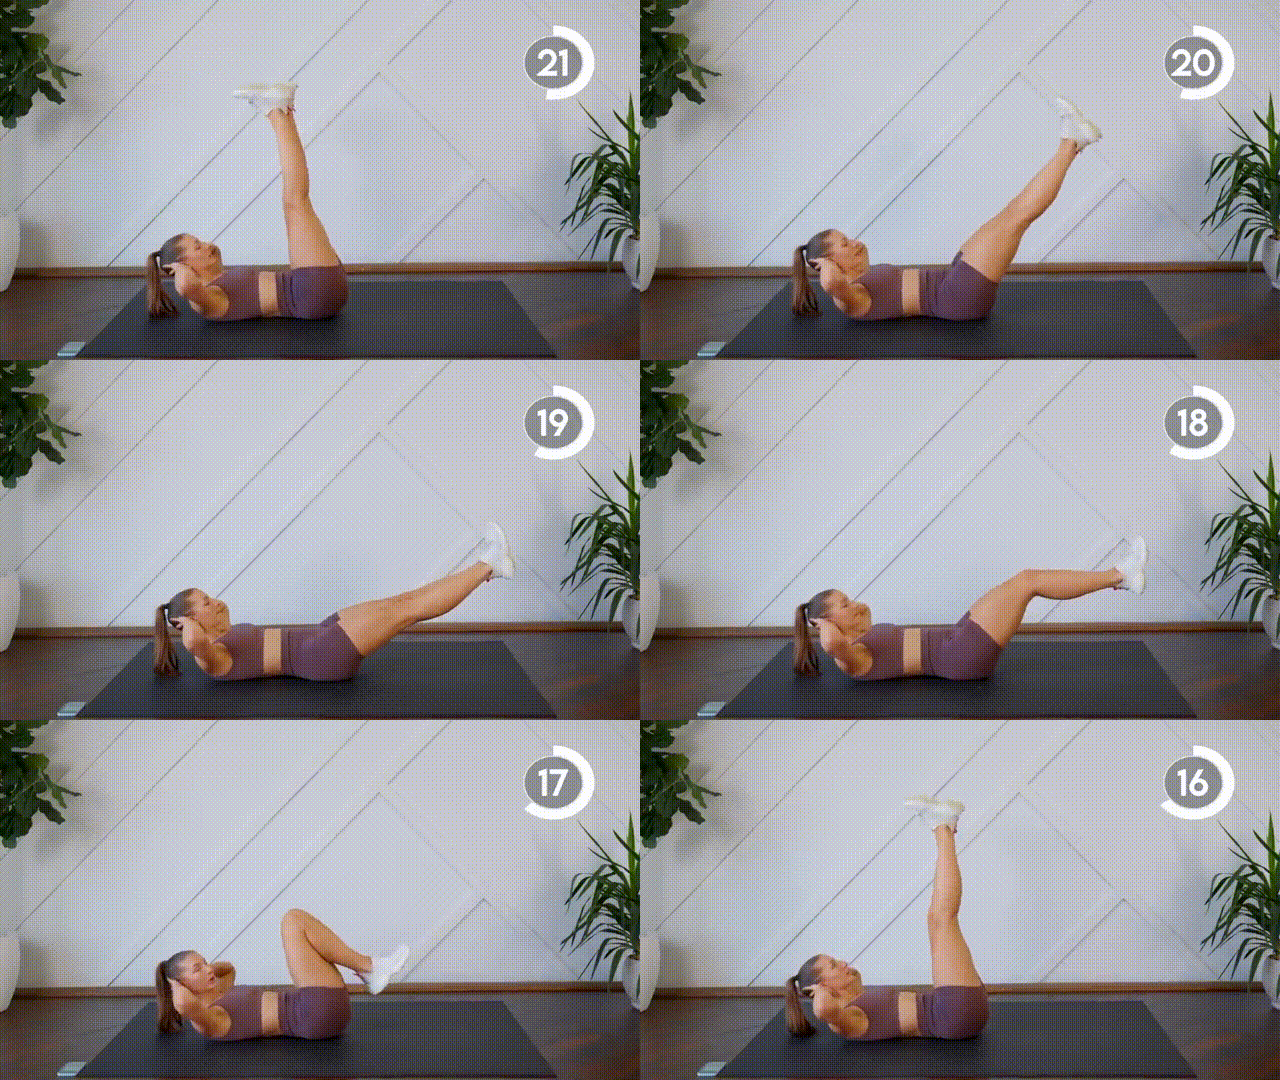
Let’s kick things off with a move that really targets those lower abs. For this one, you’ll hold a crunch while slowly dropping your legs—that combination is what makes this so effective.
If you feel this in your lower back instead of your belly, your legs are going too low. Keep them higher until you get stronger.
How to perform:
- Lie down on your back and engage your core, actively pressing your lower back into the floor.
- Lift your head and shoulders slightly off the floor to hold a crunch position throughout the exercise.
- Extend your legs straight up towards the ceiling.
- Slowly drop your straight legs down until they reach approximately a 45-degree angle.
- Bring your legs back up to the vertical starting position.
- Ensure you maintain the crunch position and keep your low back pressed to the floor the entire time.
Elbow Plank Alternating Knee Tucks
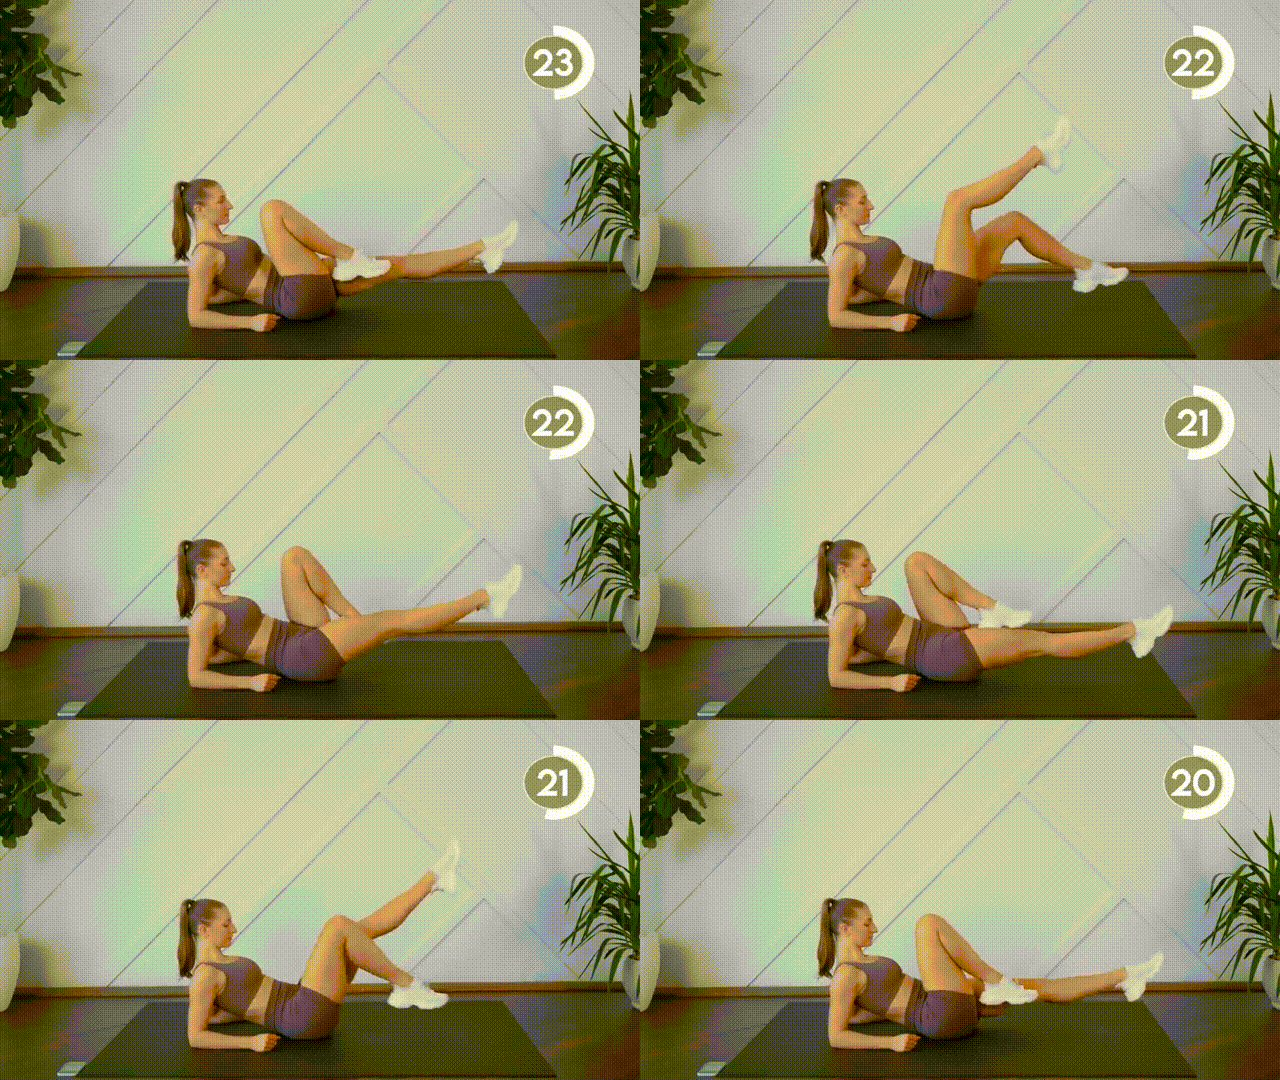
This exercise is like doing bicycle crunches from a seated position. You’ll lean back on your elbows and bring one knee in at a time (like pedaling a bike) while keeping your feet off the floor.
The hard part? Keeping your chest lifted. Once you sink down, your lower abs stop working as hard.
How to perform:
- Come up to a seated position and lean back, supporting your body with your elbows directly behind you.
- Lift your chest and keep your back straight.
- Lift both feet off the floor.
- Bring one knee in toward your chest (tuck it in).
- Extend that leg back out, and immediately bring the opposite knee in.
- Continue alternating the knee tucks, mimicking a bicycle leg motion.
- Do not let your feet touch the floor.
Crunch Kicks
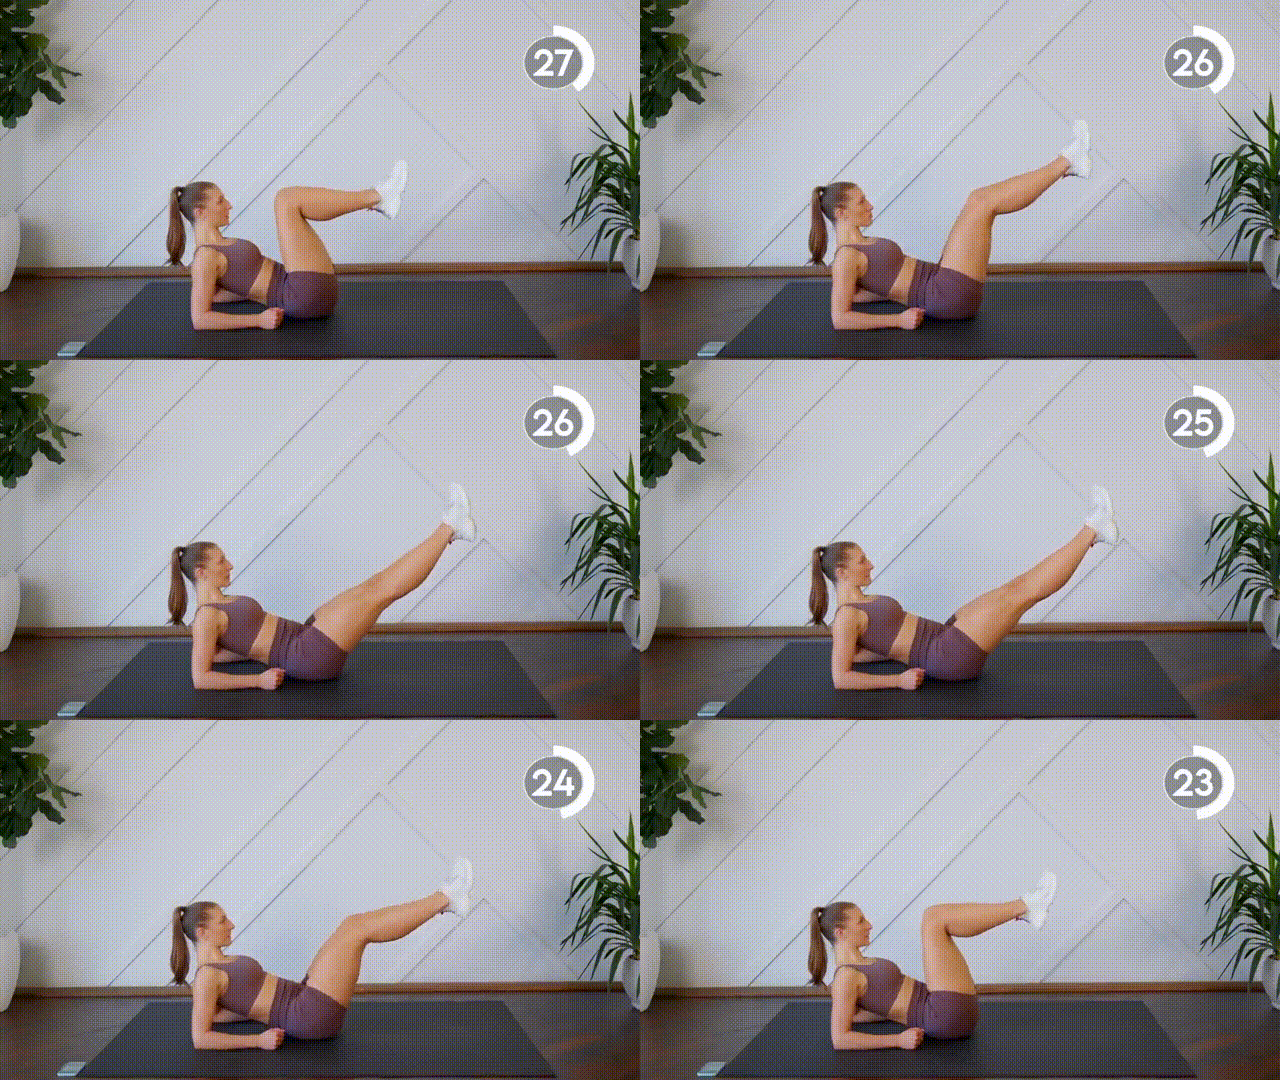
Stay in that same position—we’re going to keep working those lower abs.
It’s simple: bend your knees to 90 degrees, straighten your legs out, then bring them back. If that’s too tough right now, just extend halfway.
How to perform:
- Stay in the seated position resting on your elbows, with your chest lifted and back straight.
- Bring your knees in so your legs are bent at a 90-degree angle, with your feet off the floor.
- Extend your legs straight out in front of you, maintaining their height off the floor.
- Bring your legs back into the 90-degree starting position.
- Focus on staying lifted in your chest and keeping your back nice and straight and strong.
Reverse Crunches
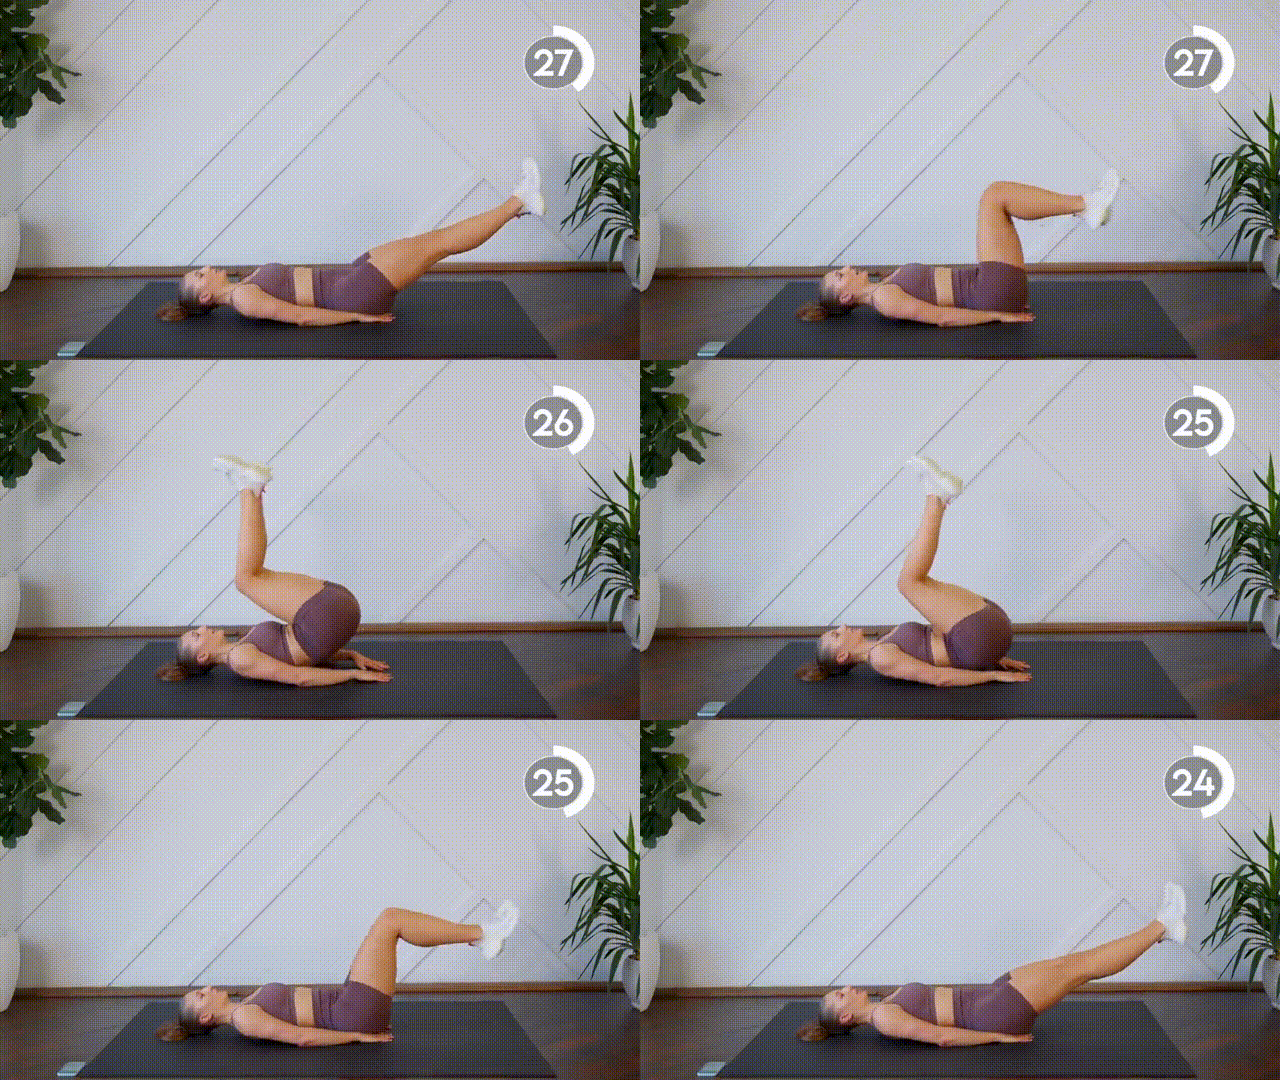
Time to flip onto your back. Instead of the usual crunch where you lift your shoulders, you’ll lift your hips up off the floor (think about pushing your bottom toward the ceiling).
Having trouble keeping your back flat? Put your hands under your lower back for support, or try it with bent knees.
How to perform:
- Lie on your back on the floor. You can place your hands flat on the floor or under your lower back for support.
- Extend your legs straight up toward the ceiling.
- Engage your low abs and perform a small crunch, lifting your hips and lower back off the floor, thinking about sending your “bum to the sky.”
- Gently lower your hips and legs back down to the start position.
- The key is to keep your lower back pressed to the floor as much as possible throughout the movement.
Seated Elbow-to-Knee Crunches
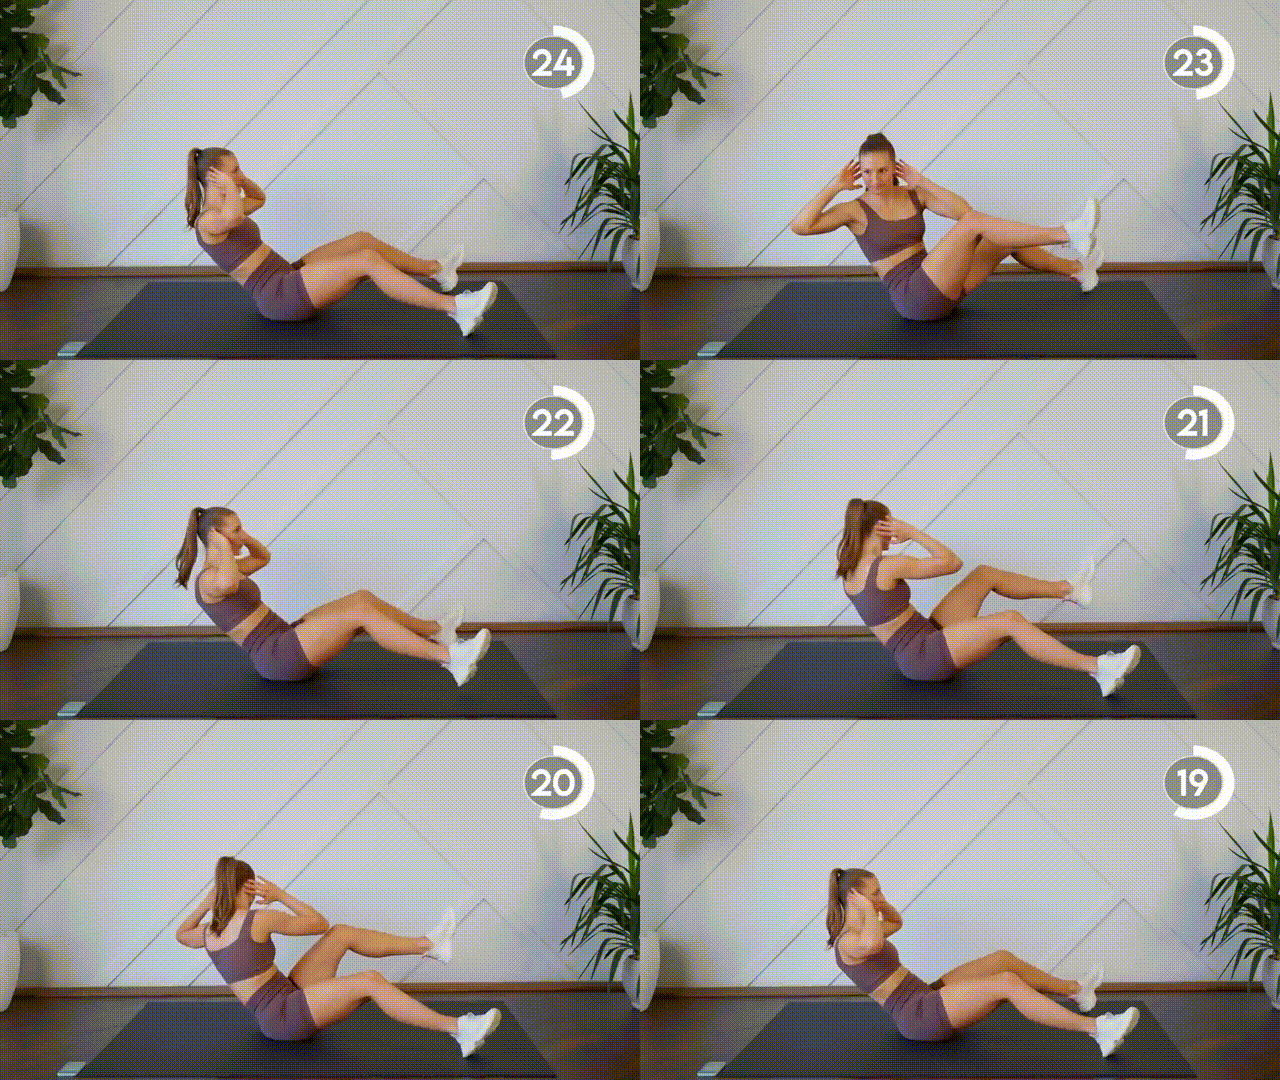
This one keeps your lower abs working the whole time because of that lean-back position.
Do you find yourself sitting all the way up between reps? Try not to—stay leaned back where you feel that tension, then add your twists from there.
How to perform:
- Sit up with your heels resting on the floor and a slight bend in your knees.
- Lean your torso back with a straight back until you feel tension on your low abs.
- Place your fingertips to your ears.
- Crunch your upper body and twist, bringing your elbow to the opposite knee (e.g., right elbow to left knee).
- Ensure the elbow and the knee meet in the center.
- Return to the starting leaned-back position, but do not sit fully up; you must keep the tension on your low abs the whole time.
- Continue alternating sides, focusing on twisting with your upper body.
Plank Toe Taps
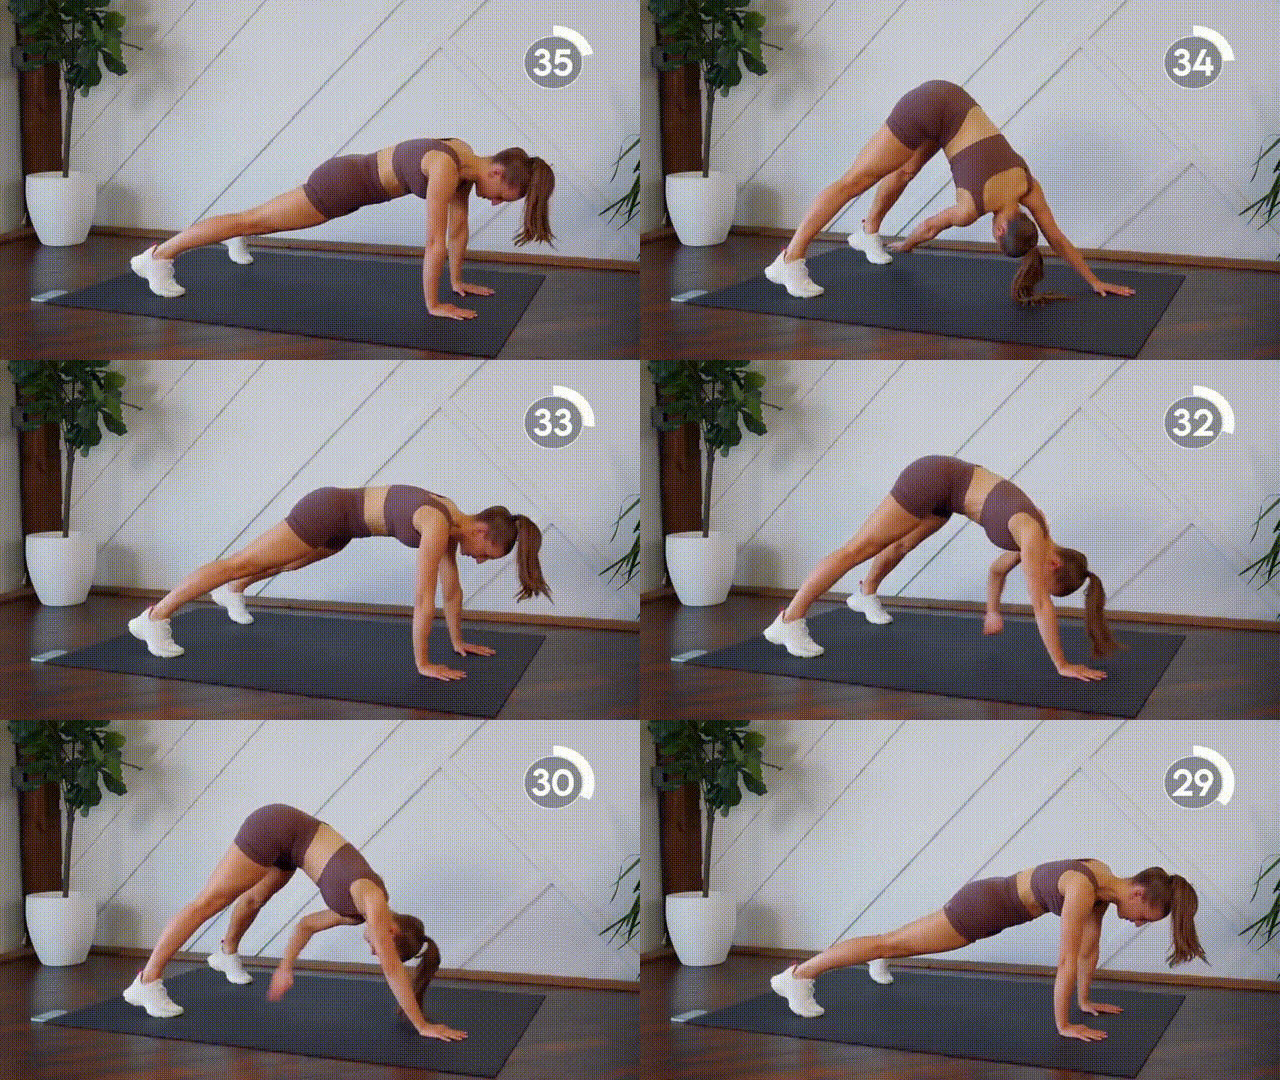
Now, switch over to a high plank. You’ll lift your hips up and reach for your opposite toes, letting your lower abs pull you up into that pike position.
If you’re wobbling around, spread your feet wider for better balance.
How to perform:
- Start in a high plank position with your hands under your shoulders and your body forming a straight line.
- Engage your core and lift your hips up into a pike position, leading with your lower abs.
- Reach one of your fingertips towards the opposite foot/toe (e.g., right hand to left foot).
- Return to the high plank position, ensuring your body comes back down into a straight line each time.
- Repeat the movement, reaching the opposite hand to the opposite foot.
Side-Lying Double Crunch (Side 1)
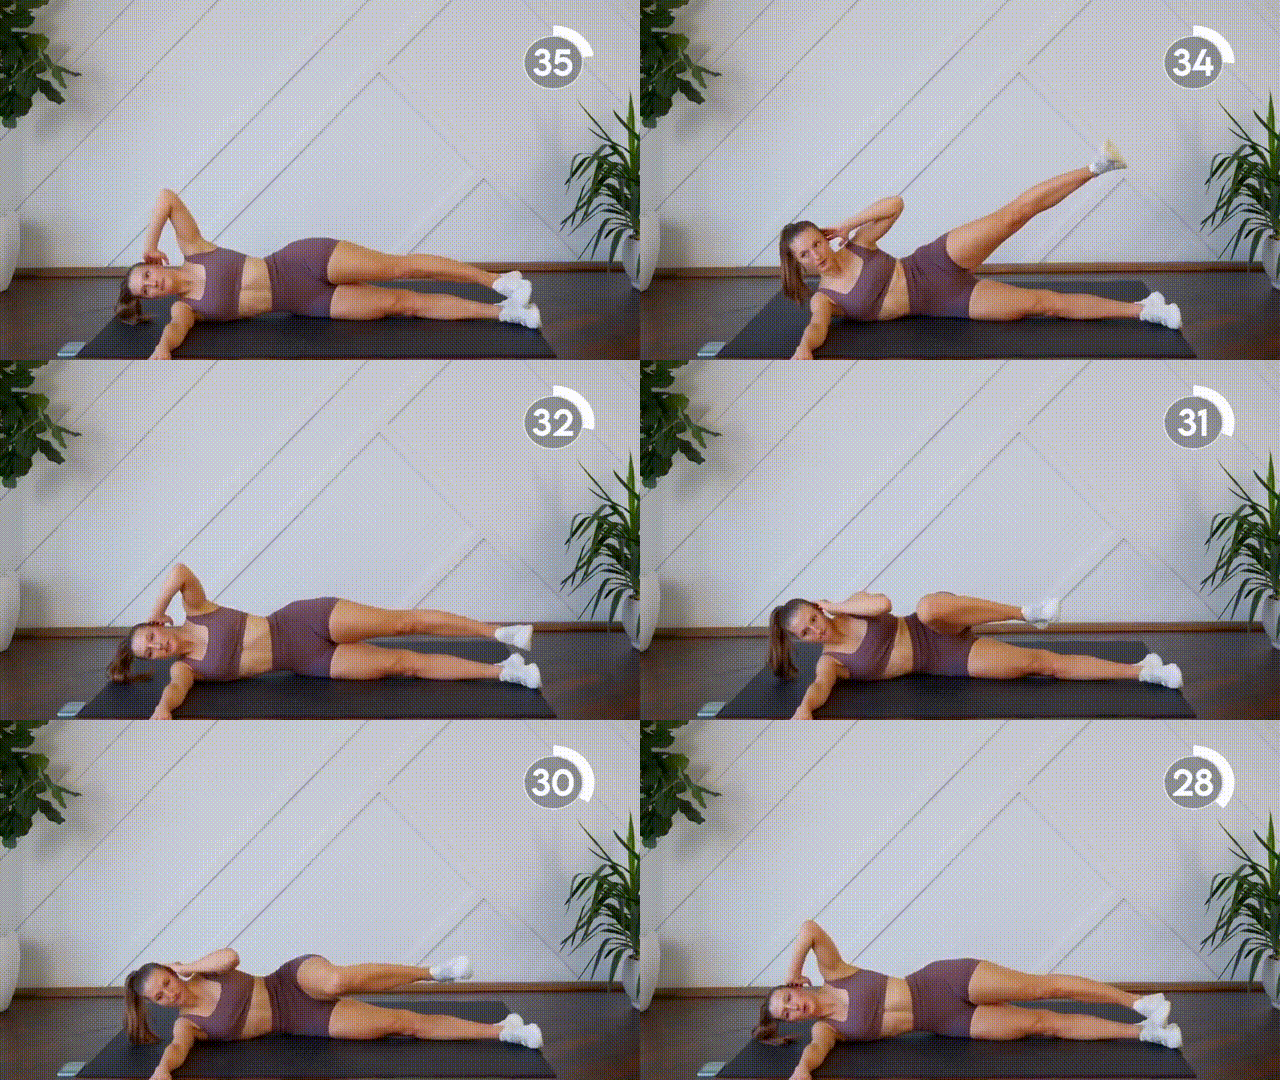
This two-part move works your lower abs in ways you’re probably not used to.
First, you’ll crunch and lift your leg to the side. Then—this is the tricky part—swing that same leg forward. Even without the crunch, just moving the leg forward really works those lower abs.
How to perform:
- Lie on your right side, supporting your upper body with your right forearm or hand.
- Lift your left leg up slightly.
- Movement 1 (Side Crunch): Crunch your torso, lifting your upper body as you simultaneously lift your left leg up towards the ceiling.
- Lower your leg back down.
- Movement 2 (Front Crunch): Crunch your torso again, this time swinging your left leg up in front of your body.
- Return the leg to the center.
- Continue alternating between the two movements for the set.
Side-Lying Double Crunch (Side 2)
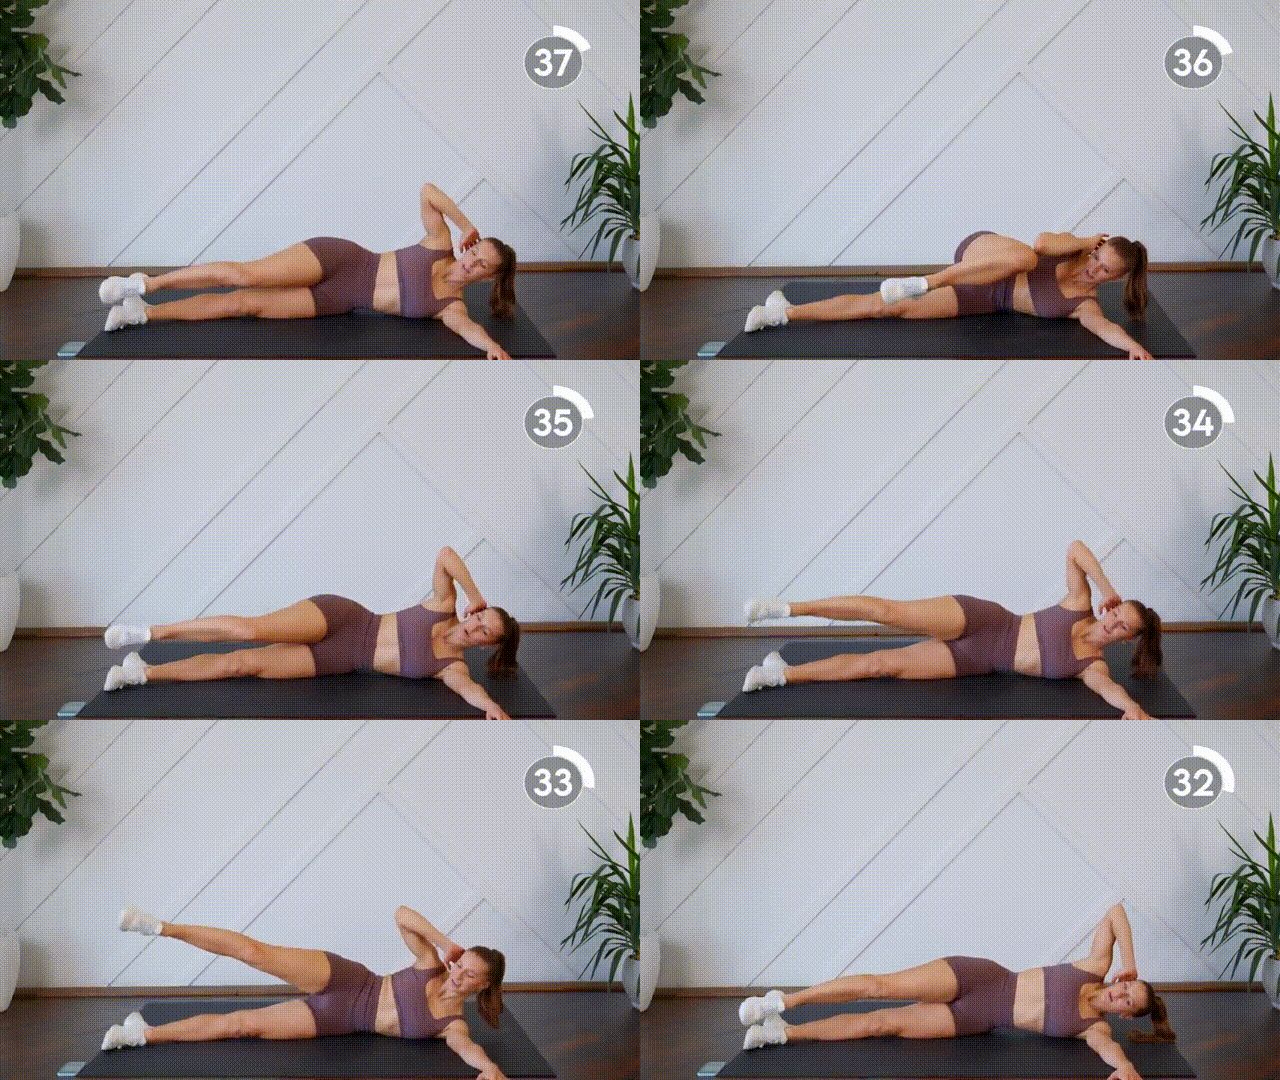
Same thing on the other side, but watch that your hips don’t fall backward when you bring your leg forward (that means your abs are taking a break).
Having trouble staying upright on your side? That’s totally normal—it takes practice to build that control.
How to perform:
- Flip over and lie on your left side, supporting your upper body with your left forearm or hand.
- Lift your right leg up slightly.
- Movement 1 (Side Crunch): Crunch your torso, lifting your upper body as you simultaneously lift your right leg up towards the ceiling.
- Lower your leg back down.
- Movement 2 (Front Crunch): Crunch your torso again, this time swinging your right leg up in front of your body.
- Return the leg to the center.
- Ensure you stay straight up on your hips and do not let your hips sink back when you bring the leg forward.
Plank Knee Tucks
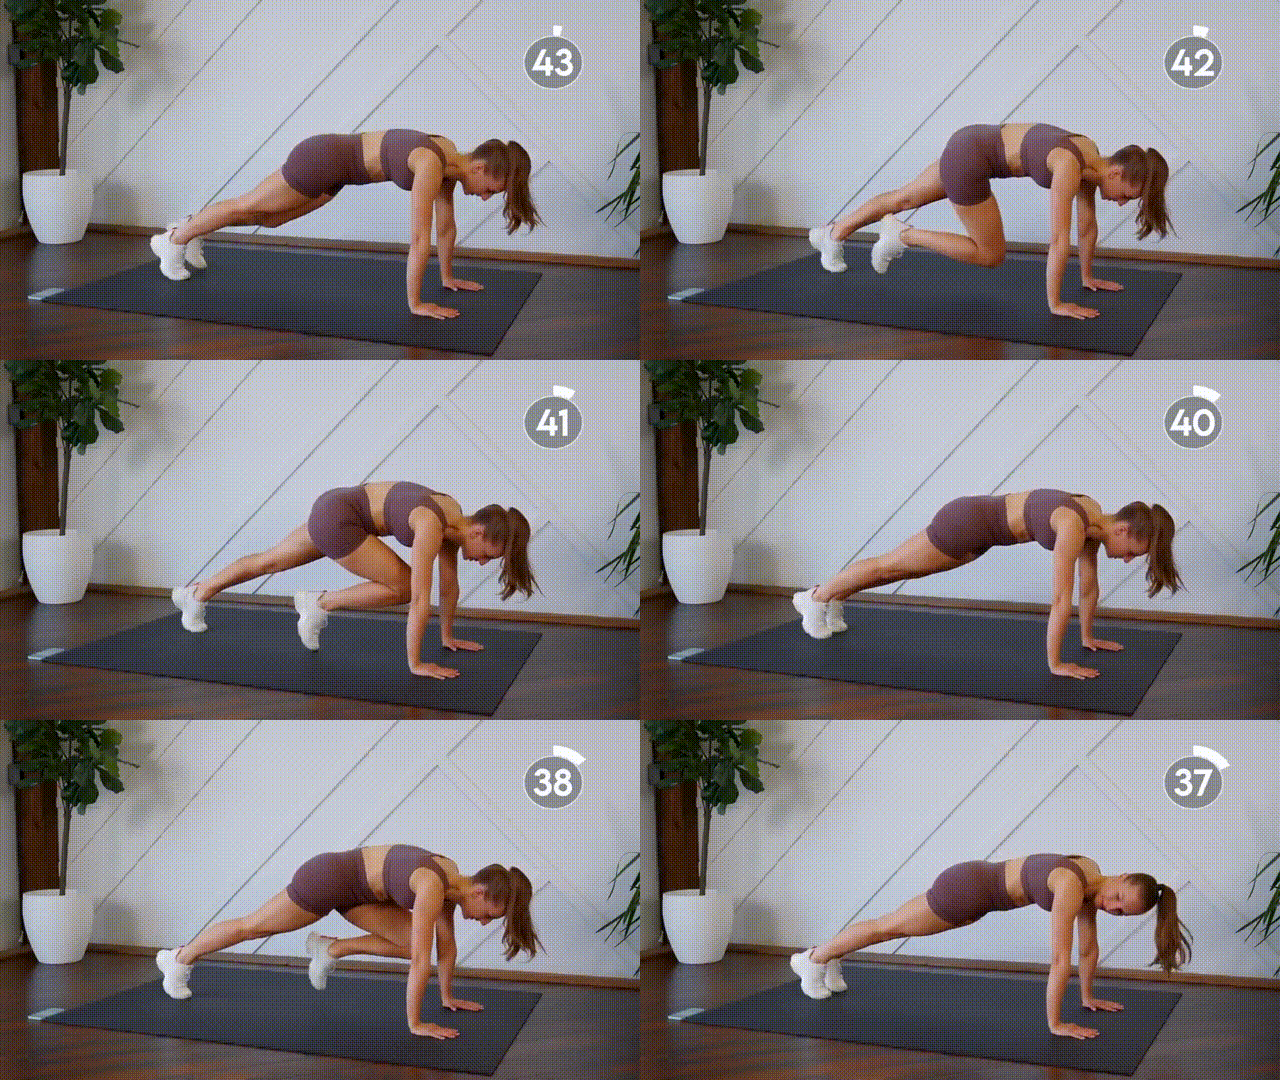
Back to that plank for what’s basically running in place. You’ll bring your knees to your chest one at a time, nice and controlled.
Feeling strong? Keep your feet off the floor the whole time. Need it easier? Tap your toes down between each knee tuck.
How to perform:
- Get back into a high plank position with your hands under your shoulders.
- Maintain a flat and straight back—do not let your hips (booty) poke up in the air.
- Quickly bring one knee into your chest.
- Immediately switch, extending that leg back as you bring the opposite knee into your chest.
- Perform the movement as a controlled run.
Scissor Kicks
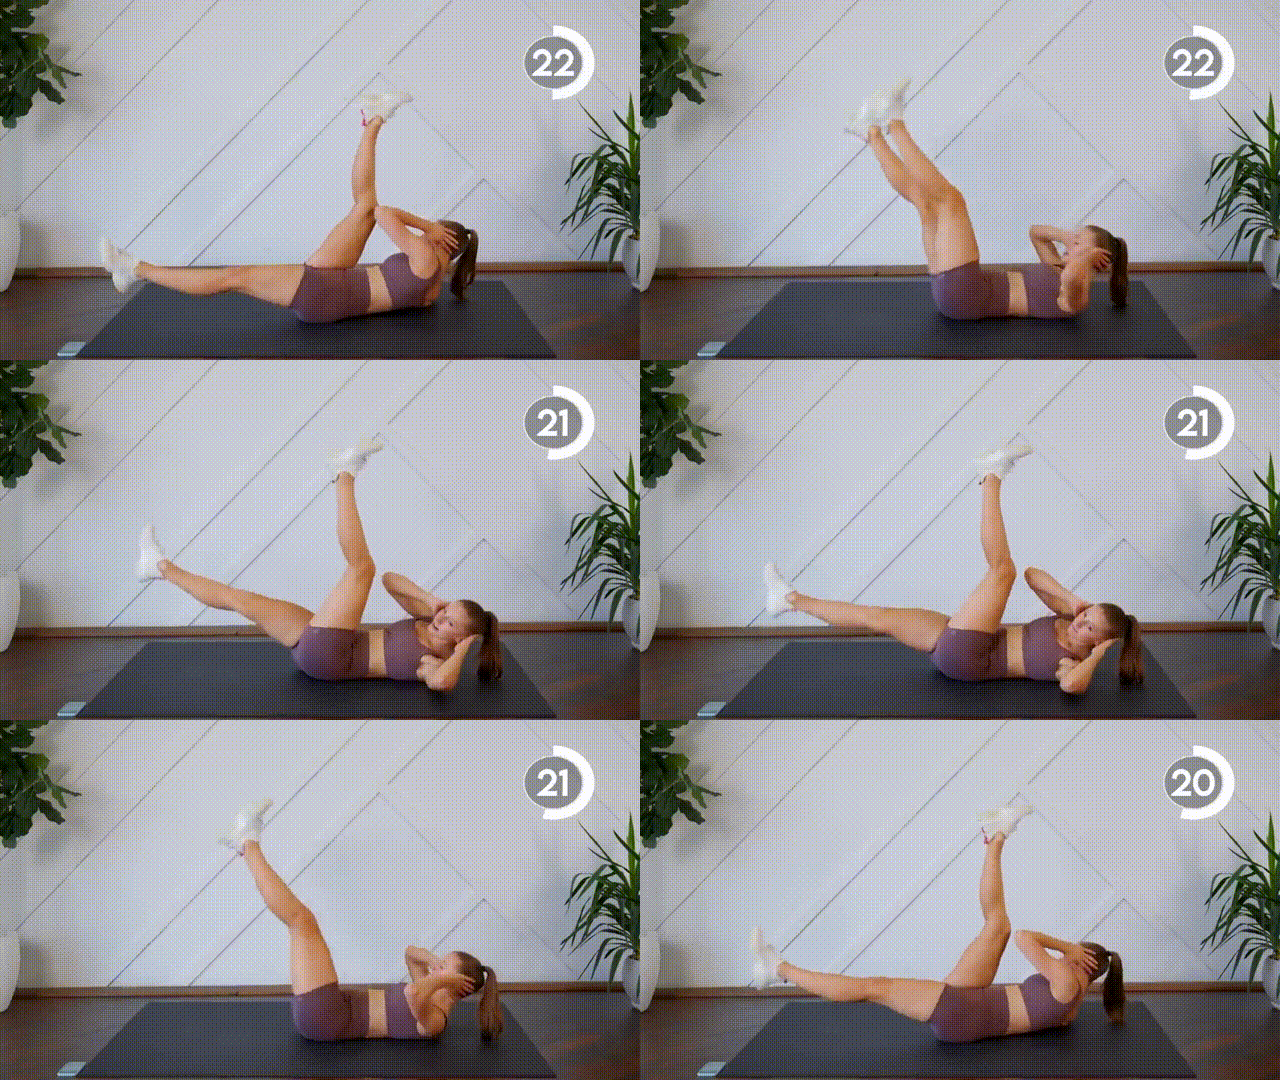
For this last one, you’ll flutter your legs up and down in a scissor motion. The most important thing? Keep your lower back pressed to the floor. If your back starts coming up, your legs are going too low—bring them higher.
Want more of a challenge? Add some twists with your upper body while your legs are scissoring.
How to perform:
- Lie on your back, firmly pressing your lower back to the floor.
- Lift your head and shoulders slightly off the floor.
- Lift both legs off the floor.
- Perform a scissoring motion with your legs, alternating which leg is higher and which is lower.
- Optional Variation: To increase the intensity, place your fingertips to your ears and add a twist with your elbows toward the opposite knee as it moves up.
Full Body Abs Workout for Women (20 Minutes)
10 Easy Ab Workouts at Home for a Toned Stomach
9 Quick STANDING AB Workout for Beginners (No Equipment)
Easy STANDING ABS Workout (Only 15 Minutes With Weights!)
10 Quick OBLIQUE WORKOUT FOR WOMEN
9 Effective ABS WORKOUT WITH DUMBBELLS at Home
Article Medically reviewed by
I’m fitness coach Ashley Castleberry, an NASM-certified personal trainer and nutritionist, as well as a coach on an established YouTube Channel with over 1 million followers. With certifications from major fitness brands, I specialize in athletic, HIIT, and strength training. Leveraging my experience coaching clients on lifestyle changes, I provide customized exercise and nutrition guidance to help people reach their fitness goals, whether that be weight loss, muscle gain or overall health improvement.
