
You’d think working the backs of your arms means dumbbells, a bench, maybe a whole gym. But honestly, you don’t need any of that.
Every move in this tricep workout for women uses just your own body weight, and trust me, that’s plenty. Give it ten minutes and you’ll feel it working.
So find a little space, press play, and let’s get those arms moving.


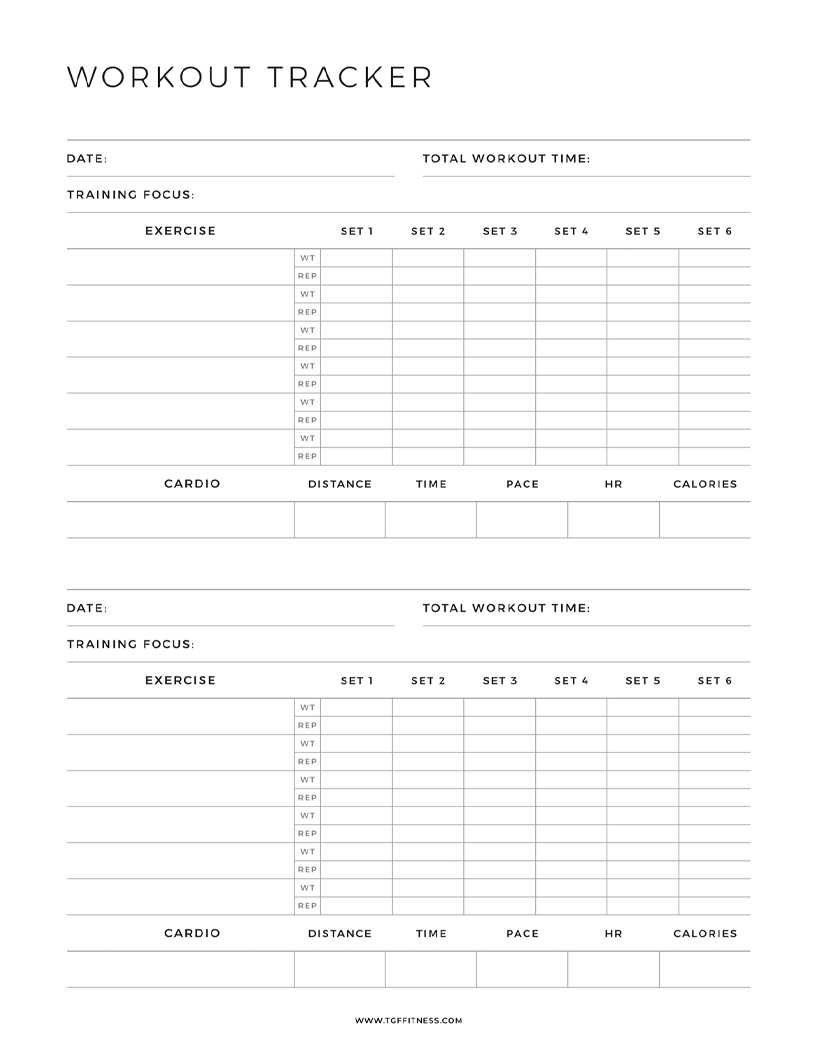
Download this free printable Workout Tracker! Plus receive weekly workout tips when you subscribe.
C Rotations
First up in this tricep workout, you’ll hold your arms out and draw C shapes in the air. That’s really it.
Sounds simple, but give it 30 seconds and you’ll feel exactly why it made the list.
Just keep your chest open and shoulders pulled down so every little circle actually counts.
How to perform:
- Stand tall and extend both arms out to shoulder height.
- Open your chest and pull your shoulder blades down.
- Rotate your arms in small circles, drawing a “C” shape.
- Keep your arms lifted and continue for the full interval.
Goal Post
No rest between this one and the last, so keep those arms lifted as you shift into a goal post shape.
It looks tame, but your shoulders are already tired, which is exactly the point.
So focus on squeezing through your upper back, and don’t let those elbows start sinking.
How to perform:
- Stand tall and bend both arms to a 90 degree angle.
- Lift your upper arms to shoulder height, forearms pointing up.
- Rotate your forearms down until your palms face the floor.
- Bring your forearms back up to the top position.
- Repeat the down-and-up motion for the full interval.
Tiny Arm Circles
Still standing, still no equipment, and yes, your arms stay lifted for this one too.
The circles are tiny on purpose, since that constant tension is what fires up your shoulders and triceps.
Halfway through you’ll switch directions, and somehow the second half always feels twice as long.
How to perform:
- Stand tall and extend both arms out to shoulder height.
- Draw small, tight circles, moving forward first.
- Keep your arms lifted the whole time, never dropping them.
- Reverse and circle backward at the same height.
- Continue for the full interval, switching direction as cued.
Plank Rotation
After a quick 15-second breather, we’re heading down to the mat for the first floor move of the day.
This one blends a plank with a rotation, so your balance gets tested along with your arms.
If you start wobbling, squeeze your core tighter, because that’s what keeps you steady.
How to perform:
- Start in a high plank with hands under your shoulders.
- Rotate onto one arm, reaching your top arm to the ceiling.
- Return to center, then lower down onto your forearms.
- Press back up onto your hands, one at a time.
- Rotate to the opposite side, alternating throughout.
One-Arm Push-Up
One-arm push-ups already? Don’t worry, this isn’t the movie-style version, since you’ll be working from your side instead.
Each side gets 30 seconds, which feels short right up until it doesn’t.
You’ll notice your chest firing first, but trust me, your triceps are picking up plenty of the work too.
How to perform:
- Lie on one side with your legs stacked together.
- Plant your top hand on the floor in front of your chest.
- Press through that hand to lift your torso up and over.
- Lower back down slowly, feeling it in your triceps.
- Continue for 30 seconds, then switch sides.
Body Saw + Pike
Two moves, one exercise. You’ll saw back and forth in a forearm plank before piking your booty up to the ceiling.
That pike is where your shoulders really light up.
Just keep everything in one straight line, since sagging hips take your lower back somewhere it shouldn’t go.
How to perform:
- Set up in a forearm plank with elbows under your shoulders.
- Rock your body forward and back in a slow sawing motion.
- After two saws, pike your hips up toward the ceiling.
- Press through your shoulders, then lower back to the plank.
- Repeat the saws and pike for the full interval.
Tricep Dips
Flip over onto your booty, because it’s finally time for the move this whole routine builds toward.
Dips zero in on the back of your arms, which is exactly where tricep fat loves to hang out.
And honestly, the dip is only half the move. That squeeze at the top is the payoff.
How to perform:
- Sit with your hands behind you, fingers facing forward.
- Plant your feet and lift your hips into a reverse bridge.
- Bend your elbows to lower your hips toward the floor.
- Straighten your arms and squeeze your triceps to press up.
- Keep your chest open and lifted throughout.
Shoulder Taps
Back up into a high plank, but this time your hands are doing the moving.
As you tap each shoulder, your hips will want to rock side to side, and your job is not letting them.
Think of it less as an arm exercise and more as a balance test for your core.
How to perform:
- Start in a high plank with hands under your shoulders.
- Keep your core tight and body in a straight line.
- Tap one hand to the opposite shoulder, then switch.
- Keep your hips still, without rocking side to side.
- Continue alternating taps for the full interval.
Push-Ups
Ah yes, the classic. Push-ups make it into nearly every arm routine because nothing hits your triceps, chest, and core together quite like they do.
So take your time on the way down, since slow is where the strength gets built.
And if full push-ups aren’t happening today, your knees are always an option.
How to perform:
- Start in a high plank on your toes or knees.
- Lower your body down slowly toward the floor.
- Let your chest lightly touch the ground.
- Press through your hands to extend your arms fully.
- Repeat at a steady pace for the full interval.
W Raise
The finish line is in sight, and this one goes easier on you. It swaps in for those tiny arm circles the second time through.
Since your arms are toast by now, gentle is exactly what you need.
Still, it closes out this tricep fat workout with one final squeeze.
How to perform:
- Stand tall with your arms bent and elbows drawn in.
- Pull your elbows to your sides to form a “W”.
- Squeeze your triceps as you bring the elbows in.
- Extend your arms back out until they straighten.
- Repeat the squeeze-and-extend for the full interval.

Article Medically reviewed by
I’m fitness coach Ashley Castleberry, an NASM-certified personal trainer and nutritionist, as well as a coach on an established YouTube Channel with over 1 million followers. With certifications from major fitness brands, I specialize in athletic, HIIT, and strength training. Leveraging my experience coaching clients on lifestyle changes, I provide customized exercise and nutrition guidance to help people reach their fitness goals, whether that be weight loss, muscle gain or overall health improvement.